Showing posts with label Craft. Show all posts

Thursday, 26 May 2022

Let summer begin

 Let's talk cars, or rather car air fresheners. Many moons ago when I first bought my heat press and sublimation printer I bought a few of these air freshener blanks to make my own. Of course me being me I think I made one and lined it up wrong and didn't bother using the blanks again.  With summer on the way I decided it was time to brighten up the car and change the scent too. 

I grabbed what was needed, downloaded and printed out with sublimation ink and grabbed my blanks. Errands had to be run and grandchildren picked up from school so it was later in the evening before the project got finished.
It made things so much easier to just have it all prepared and ready to go. Maybe that's the key for me, being prepared and not feeling to overwhelmed. 

All that was left to do was line up the images either side of the blanks and attach them with heat tape.  This was a little fiddly and took a little while but well worth the couple of minutes playing to get them lined up.

Into the heatpress for 50 seconds a side and they came out beautifully, I grabbed the palm tree one and infused it with parma violet oil and it smells devine.  And really did the job of brightening up the car.  So come on summer we are ready for you!

The print files were from Design bundles here and here and the air freshener blanks were from Amazon.

They are great for rooms and wardrobes not just cars.  I have had a wonderful branded one in my downstairs bathroom for a while now and will replace it soon with one I make up. Fragrance oils, perfumes and essential oils are all useable.  Of course be careful to not get them on your skin and keep away from children etc.  Fun fairly quick project.

Day 1 of crafting not endlessly surfing complete.


Saturday, 10 October 2020

New failures in craft

I’ve always admired the art of pyrography and the people who can do it. I can’t draw well so didn’t ever think I could do anything like that. Then I watched a YouTube video using a chemical burn pen or a scorch pen. Simply draw on apply heat with a heat gun or an iron etc. And be left with a lovely masterpiece. To be fair they showed their failure too. 

In my defence I think there was to much of my stencil to colour in with pen and I oversaturated it possibly. It all started so well. 

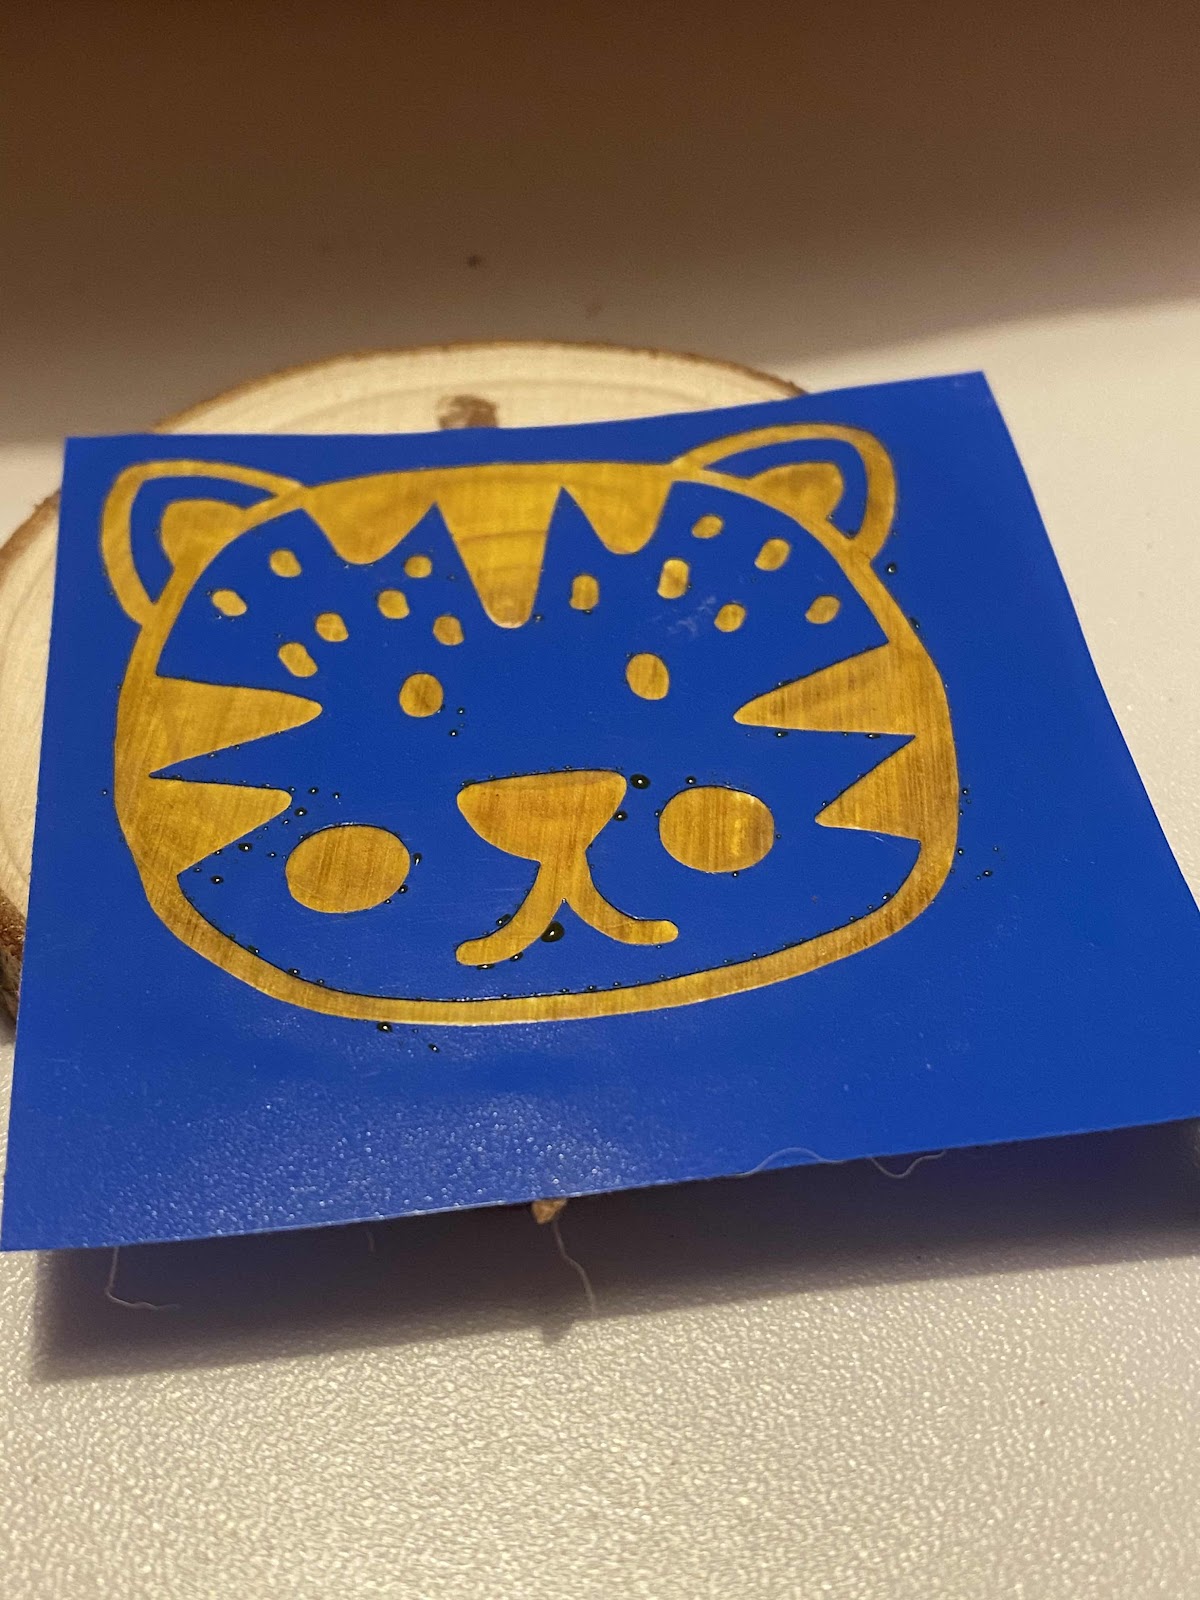
I used my Cricut to cut out 2 designs to apply to some wood slices so I could colour them in with the pen I bought from Amazon. 

So far so good. Then I coloured them in. And removed the vinyl. 
Then I used my Cricut mini press and covered with paper abs heated for only 5-10 seconds and that’s when it all went wrong. 


Obviously way to much of the pen. After closer inspection the pen says you don’t need a lot of it. Next I turned the wood over and tested the amount, simple lines and writing, then, applied head again and it worked much better.

Definitely worked better this way. Light handed is the way to go. Will give this another go soon and hopefully will produce better results. Was hoping to make some tree decorations with the wood slices. 

Meanwhile I’m off to do something I know will work to boost my confidence up a bit. Tomorrow’s another day. 


Thursday, 8 October 2020

Cricut foil transfer kit

Sometimes I am so easily amused and this was one of those times. Having not hung out as much online with other Cricut users I was a bit behind the times. Didn’t discover about the foil transfer kit until after it came out so splashed out and treated myself. Up until now I’ve not gotten around to having a go of this. 

It’s a system that uses pressure with your machine and comes with 3 nibs to go in the housing with fine, medium, and bold settings. 

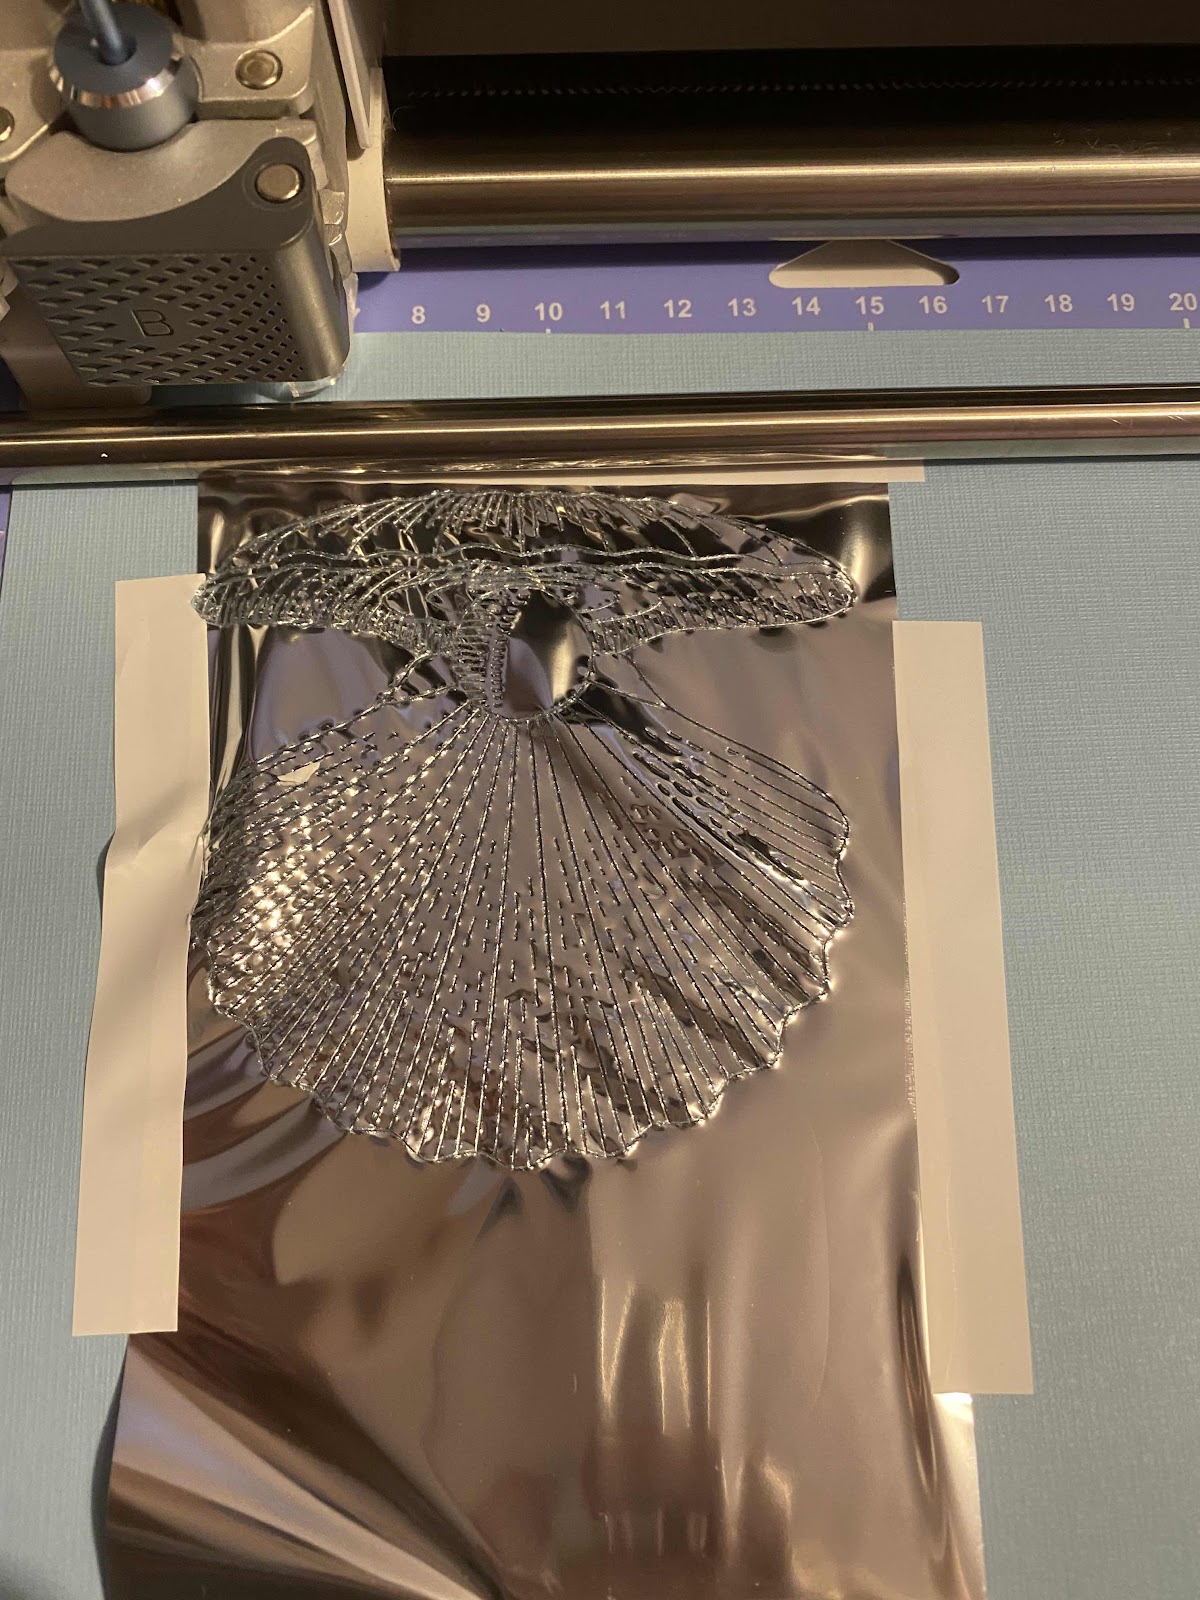
The pack also comes with foil sheets and sticker tape to tape the foil down. Surprisingly, the foils more robust that they appear. As a last minute whim last night I got out the kit and card to give it a go. I found the shell in design space and set things up as instructed.  It came out of the Cricut looking like this. 
Next time I will take more care with the sticking down of the foil sheet and tautness. However, as I pulled back the foil after the Cricut had finished its job it all turned out ok. That first peek took my worries away. 


So pretty and shiny! Even the used foil held up to the light was wondrous to look at and play with in the light. 

I’m hoping to find a perfect family tree to try to do with this foiling technique because I am in love with it. Photos do not do it justice of how shiny and beautiful it came out. 

This design was about 3.4 inches tall I think it was so quite detailed for the size of it. I used the medium nib and one of the silver sheets of foil that came in the pack. It came with 6 each of silver and gold. 

Great tool to have in your repertoire, especially if you like to make cards and decorative bits and bobs. It can also foil faux leather I believe and will look into other materials it can be used on soon. 


Saturday, 3 October 2020

Hogwarts house masks

Up until now I’ve not really made that many face masks. We have them of course but we have some ready made ones and a few home made ones. However, we have a Harry Potter related event happening with 4 people and I had some fat quarters of the houses so I had to make some face masks. I followed a tutorial from the stitch sisters on YouTube for a basic mask and it worked well. 

I didn’t even mind all the pressing/ironing the pleats in. Anyone who knows me knows I dislike using an iron. For sewing it kind of essential for a good finish though so was well worth it.  Here they are all pinned before final top stitch 

And here they are finished. Used a yellow thread because they all have yellow in them. Huge bonus and didn’t have to keep rethreafing machine for each mask. 

A while back I made my lively daughter in law this wristlet key fob and a scrunchy out of the same hufflepuff fabric and she was delighted with it. 


Just recently I have been doing smaller projects. It’s very satisfying to finish things all in one go and not stress about time for finishing them. 

Thursday, 1 October 2020

It’s beginning to cost a lot like Christmas!

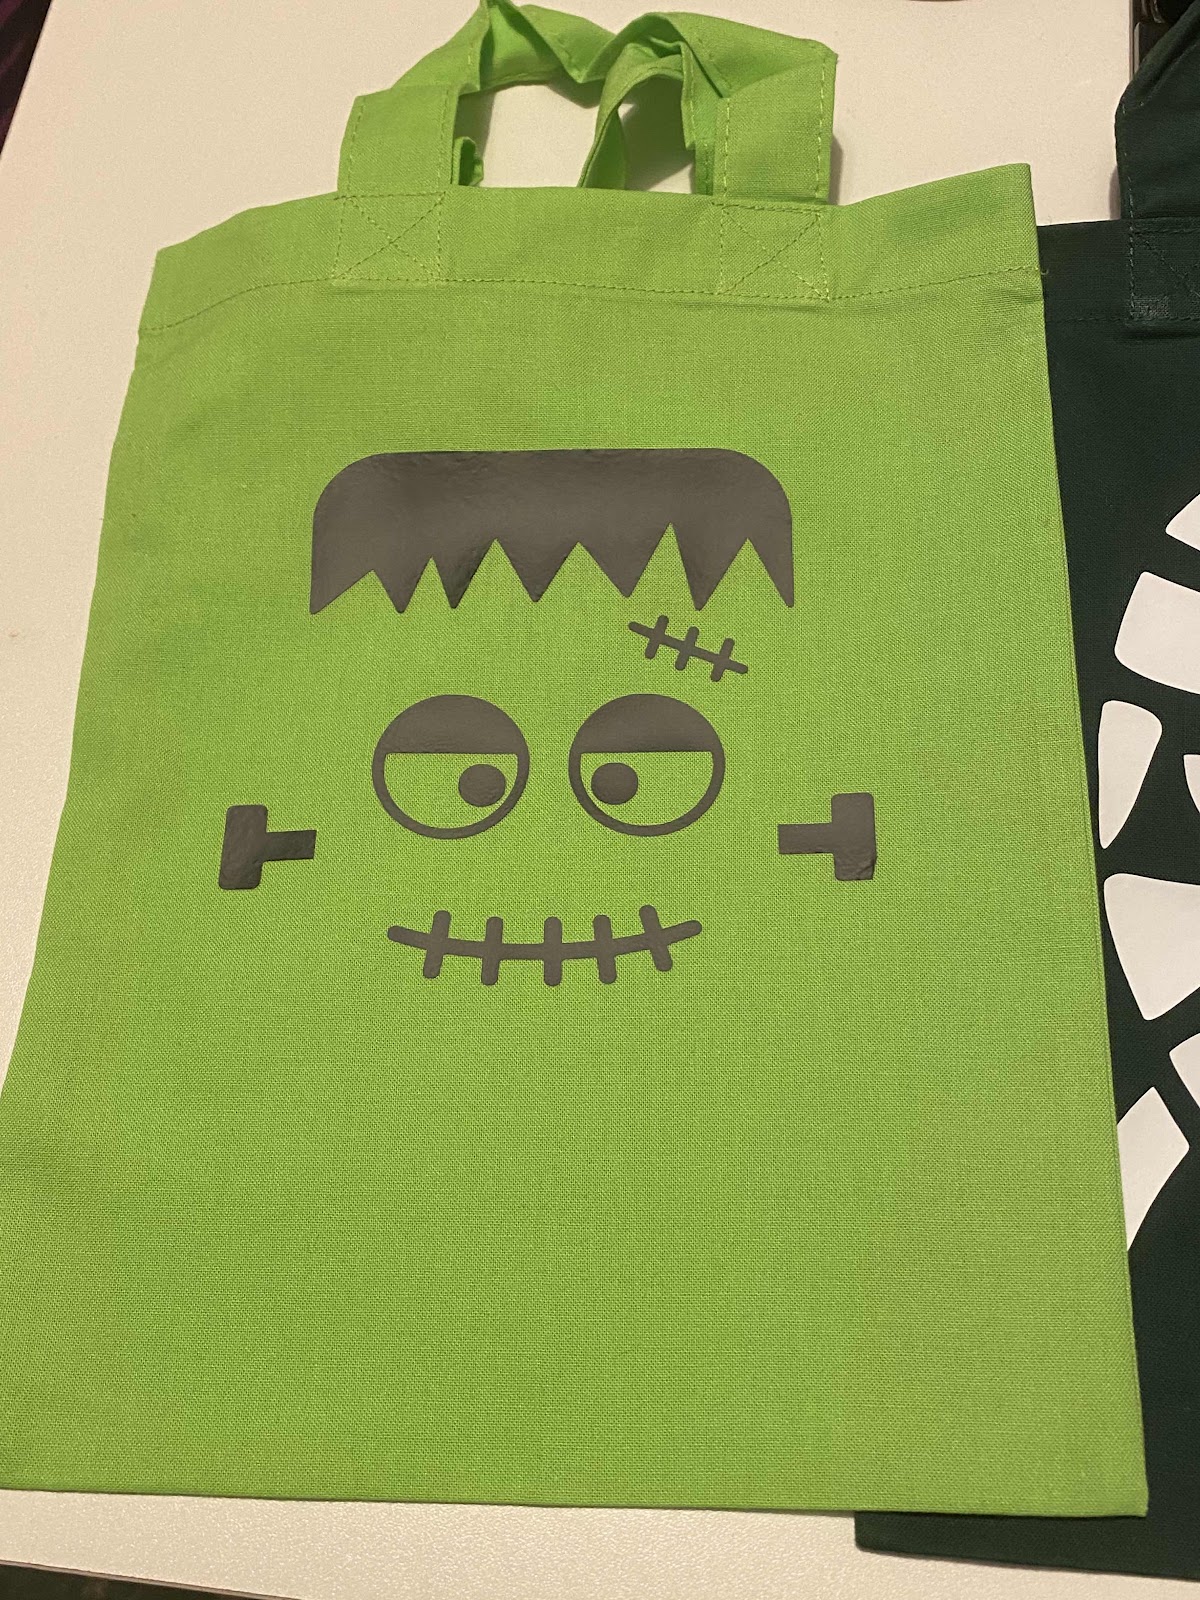
Don’t know about you but my mind sang that title line. As I did when I saw this design on designbundles.net It’s been a long while since I did a heat transfer vinyl (HTV) project with my Cricut and decided today was the day. Did the day cooperate? No it didn’t but finally got there in the end. 

I used to keep my spare canvas bags and sublimation bags in separate places. A while ago I decided to organise everything craft wise and put them in the same place. Then promptly forgot and dragged out so much looking for a tote bag today. After much coffee and muttering to myself I finally had a brainwave and remembered. By that time I had to go do my motherly and grandmotherly duties and had to wait until this evening to complete this tote bag 

Another bag to try not to forget when I go shopping  somehow I’m hoping the pretty shiny and sparkling parts will catch my eye and make me remember to pick it up. I’ve used standard HTV, glitter and metallic. It’s so pretty and apart from the wording it was all done with my off it’s so didn’t cost to much to make. 

Might have to make a Halloween themed bag next. I did make some trick or treat bags a few weeks ago for my granddaughters. They won’t be trick or treating but they can receive the bags with some treats from me :-) 


Thursday, 21 May 2020

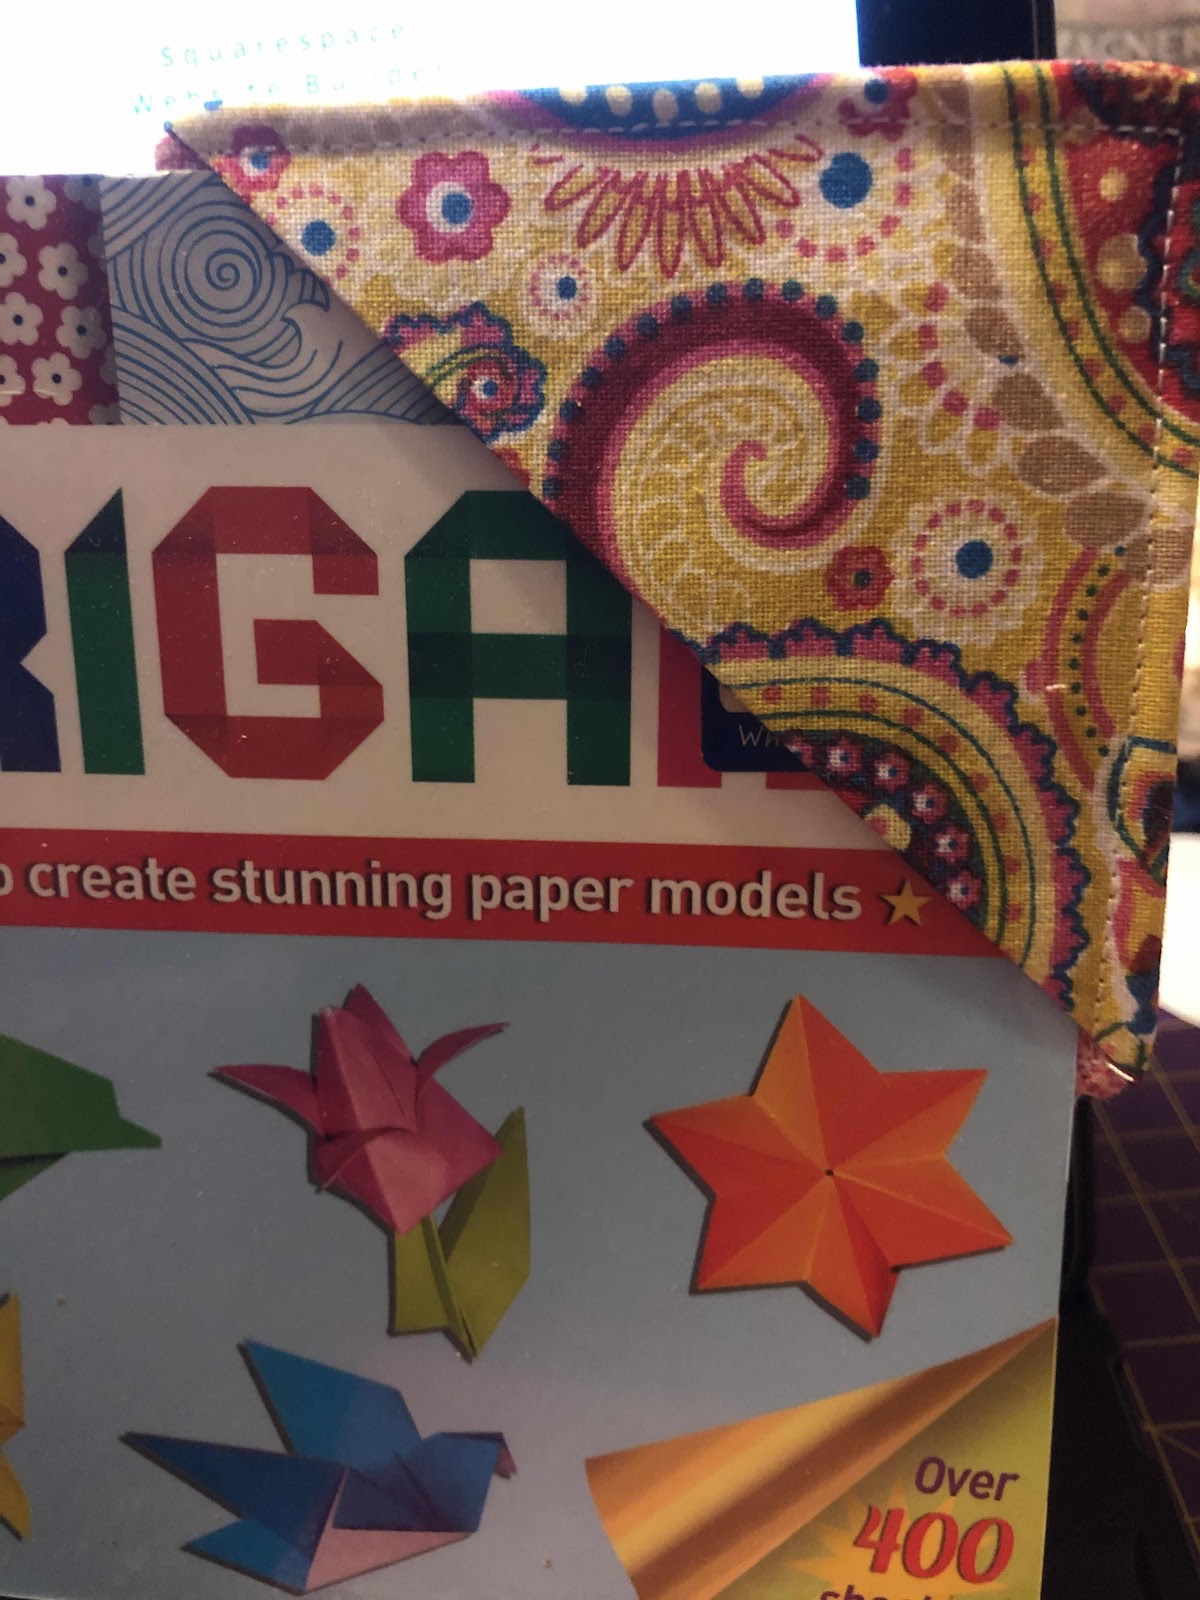
Fabric bookmark corners

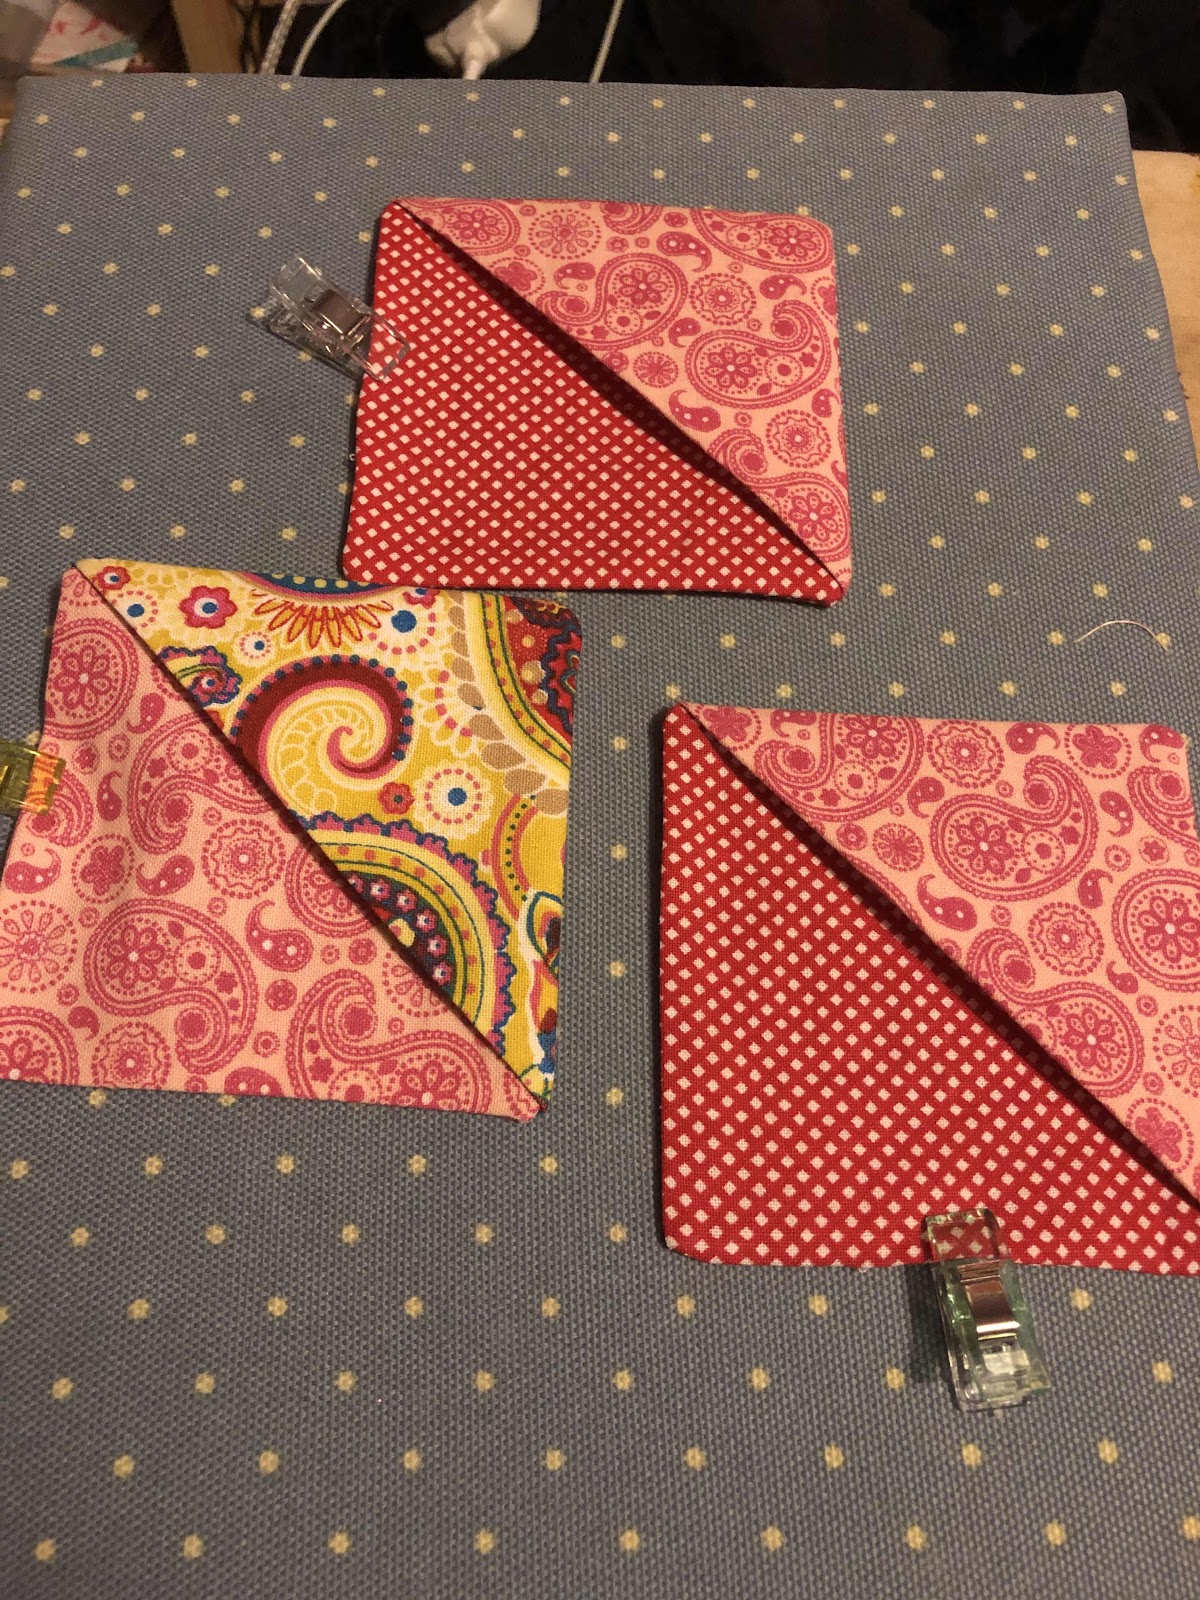
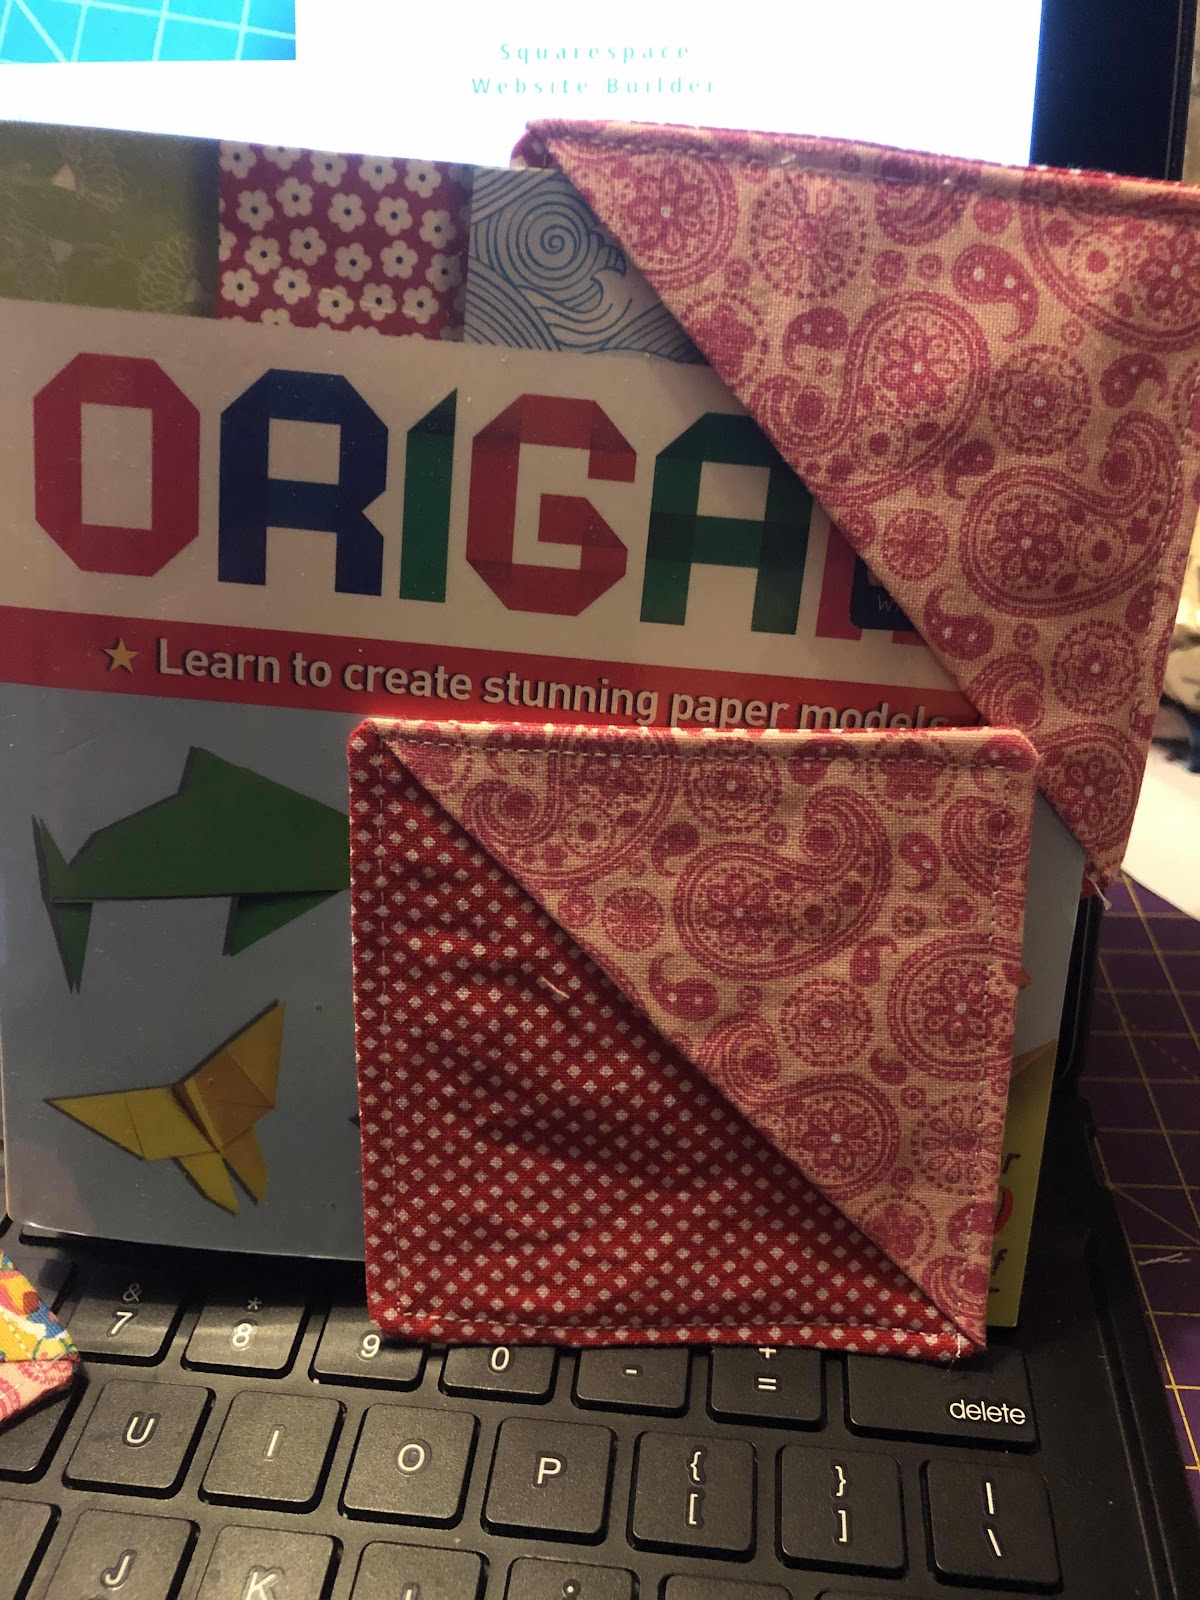
Still using scraps and these took me down memory lane. My mum once showed me how to fold paper to make a corner bookmark. I really do not like books that have had their corners turned down or creased so bookmarks are needed. Saying that I use a variety of things for bookmarks. Usually the nearest flat thin object. Receipts, membership cards, paper money, coasters, pierces of yarn....... I’m sure you get the idea. So I used 3 4 inch squares to make some corner bookmarks from fabric. 
Square one was interfaced on one half by a half triangle shape and folded over and pressed into a triangle itself. This was placed on a corner of an interfaced square facing right side up and covered by a third square right side down. 

Sew all round leaving a turning gap, clip corners and turn through and press after poking corners out. Press again and top stitch close to edge closing the open edge 


So now I have 3 bookmarks for around the house. Pretty ones at that. 

 Tutorial came from Pinterest and on craftystaci.com. Got to admit I’m having a blast with quick and easy projects at the moment. Need to find more projects to keep me amused in my time I get to myself in the evenings. 


What do you do? Fold the corners or use a bookmark of some description? 

Sunday, 20 March 2016

Weekend fun and review

It's been an eventful weekend here at the Bradhen household. I always forget from one sleepover with the grandchildren to the next how much energy a 4 year old and a nearly 2 year old have. So many giggles, cuddles and noise. Can't be anything but fun right? After we got the youngest one off to bed the eldest GD and I broke out a pompom kit from Hobbycraft and some glue.  So many giggles and things sticking to where they shouldn't be. We got there in the end.  Straightforward enough for a 4 year old to follow and achieve.  So without further ado meet Rapunzel and Nana. For a £1 we got a good half an hours out of this and still have enough to do  blue and a white bunnies too.  These went home with GD today with her haul of Easter egg finds this morning.


This morning I broke out my new pancake pan.  It's a Nordicware pan.  I bought this from Costco before Shrove Tuesday but haven't used it before now.  So cute right? I am easily amused so it came home with us. Mr Bradhen doesn't even question me these days just lets me get on with these things. Anything for an easy life maybe?


After a quick spritz of Fry light we loaded up each section with 2 tablespoons worth of the thick and fluffy kind of pancake batter and over a low medium heat we waited for them to dry out a bit and bubbles to pop on the top side before turning.


We did 2 lots and one batch was lighter than these but all cooked and infectiously cheerful.


We broke out a few chocolate chips and chopped strawberries. There wasn't much left so must of gone down well.  


They are a novelty and I am not sure how often I will actually get to use the pan to be honest, But the pan cooked the pancakes well and you could really see the smiley faces well.  They released without any faff.  I have a few of their bundt tins and they have never not released well either. I think the other design in store was farm animals, might of just been funny animals.  I can't remember more than it was some kind of animals. We shall see if it becomes a tradition for sleepovers in the future. 


It's been a busy Sunday.  After dropping the girls back off home I managed to escape upstairs to do a bit of sewing.  I finished a top I had almost finished,  Will show it off later in the week, I need to find my camera charger to get some decent photos.

While son was in the bath I took the time to trace off  the pattern pieces I needed for this pattern.  I saw it made up and reviewed on the youTube channel Sewn in her transitioning for spring vlog and loved how hers looked so got the pattern.

The bit I don't usually  like in the process of creating a project is tracing off the pattern.  I think it goes back to years ago when I used to get Burda magazines.  Not only did you have to work out which pattern pieces you needed in what can only be described as a spaghetti junction of pattern lines, you also had to put on your own seam allowances afterwards. Really put me off tracing for a long time. With only 5 pieces to trace tonight though it went smoothly and quickly. And I cannot wait to get into this tomorrow afternoon hopefully. I have chosen view E, second from bottom on left of pattern envelope.  It's a bit longer and with my legs that's a good thing. We shall see how it all goes. I have 2 fabrics in my stash that I am deliberating over at the moment so we will see how I feel when it comes down to cutting it out and if I have a matching zip for it.

Pattern is McCall's 7287


Excuse the photograph quality,  I really am not doing well indoors in the later afternoon/evening/night time lately and my camera charger is top of my list to sort out for blogging some better photos with. 

But for now I think a cup of coffee while the house is quiet and a catch up online before bed. So for now

Take care and stay crafty
Jules x