Showing posts with label cricut. Show all posts

Thursday, 8 October 2020

Cricut foil transfer kit

Sometimes I am so easily amused and this was one of those times. Having not hung out as much online with other Cricut users I was a bit behind the times. Didn’t discover about the foil transfer kit until after it came out so splashed out and treated myself. Up until now I’ve not gotten around to having a go of this. 

It’s a system that uses pressure with your machine and comes with 3 nibs to go in the housing with fine, medium, and bold settings. 

The pack also comes with foil sheets and sticker tape to tape the foil down. Surprisingly, the foils more robust that they appear. As a last minute whim last night I got out the kit and card to give it a go. I found the shell in design space and set things up as instructed.  It came out of the Cricut looking like this. 
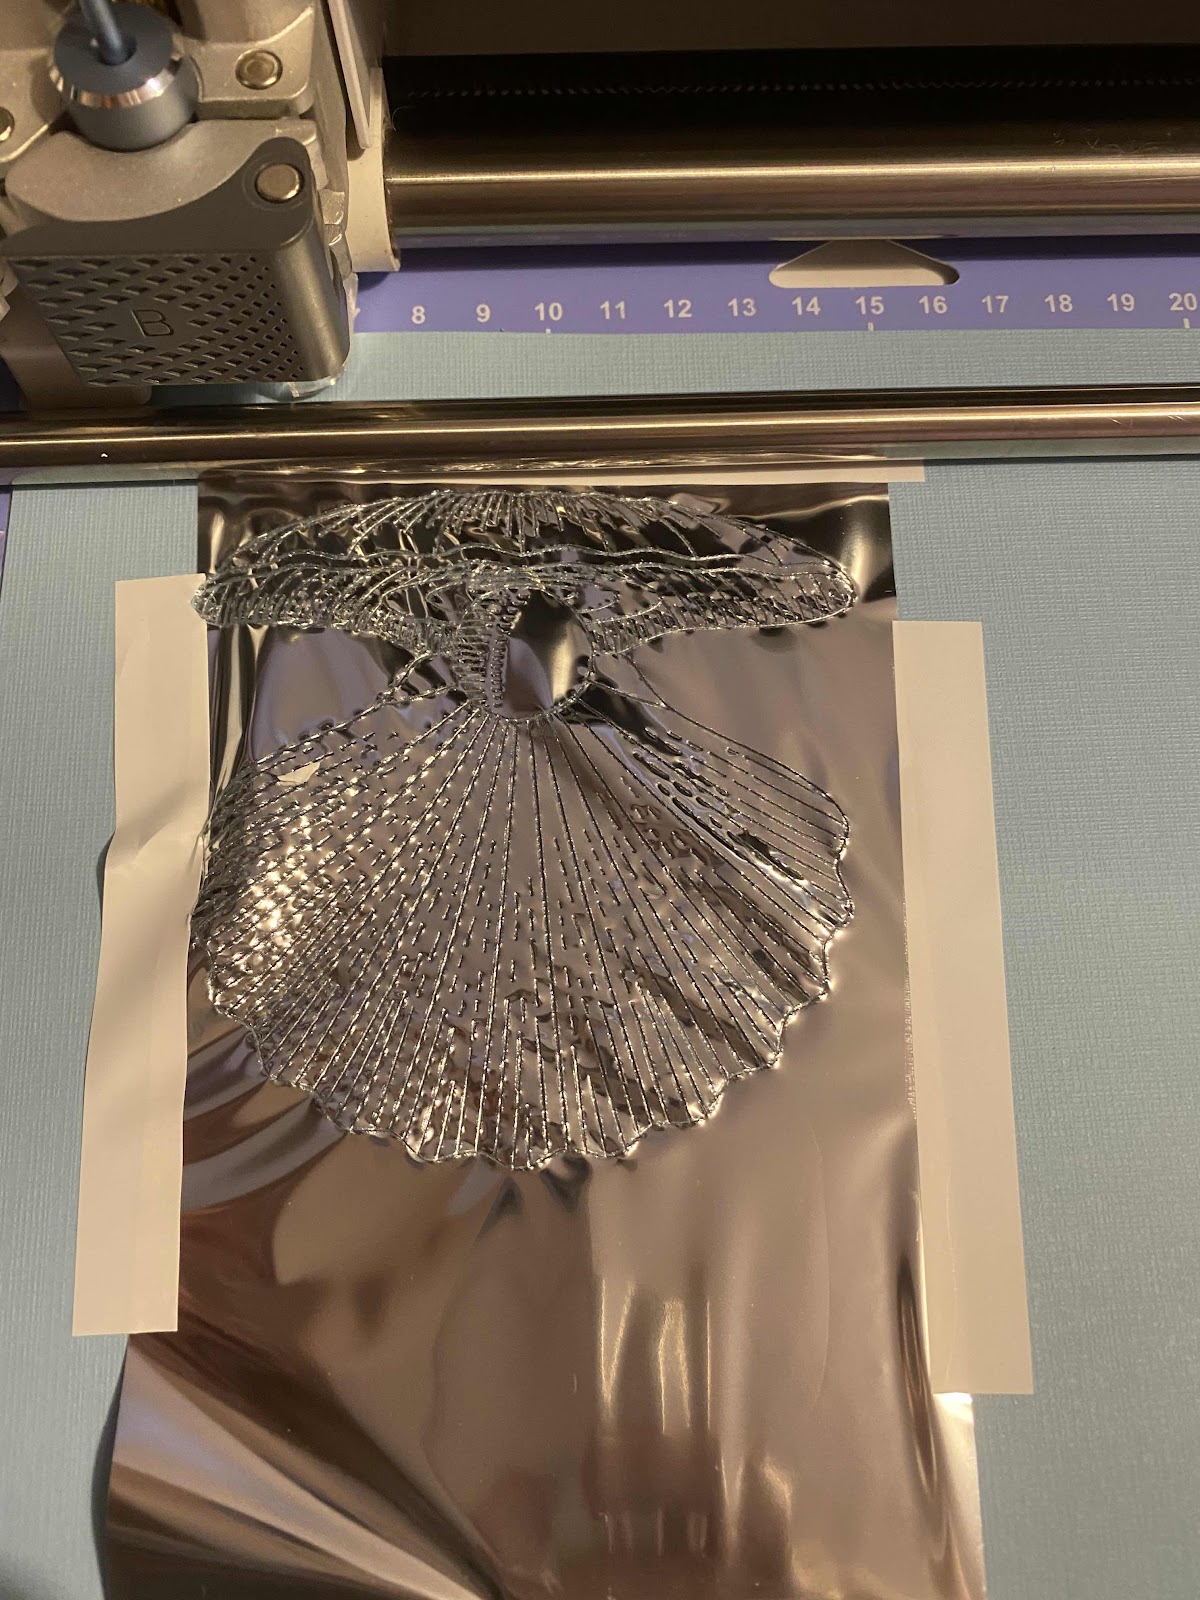
Next time I will take more care with the sticking down of the foil sheet and tautness. However, as I pulled back the foil after the Cricut had finished its job it all turned out ok. That first peek took my worries away. 


So pretty and shiny! Even the used foil held up to the light was wondrous to look at and play with in the light. 

I’m hoping to find a perfect family tree to try to do with this foiling technique because I am in love with it. Photos do not do it justice of how shiny and beautiful it came out. 

This design was about 3.4 inches tall I think it was so quite detailed for the size of it. I used the medium nib and one of the silver sheets of foil that came in the pack. It came with 6 each of silver and gold. 

Great tool to have in your repertoire, especially if you like to make cards and decorative bits and bobs. It can also foil faux leather I believe and will look into other materials it can be used on soon. 


Thursday, 1 October 2020

It’s beginning to cost a lot like Christmas!

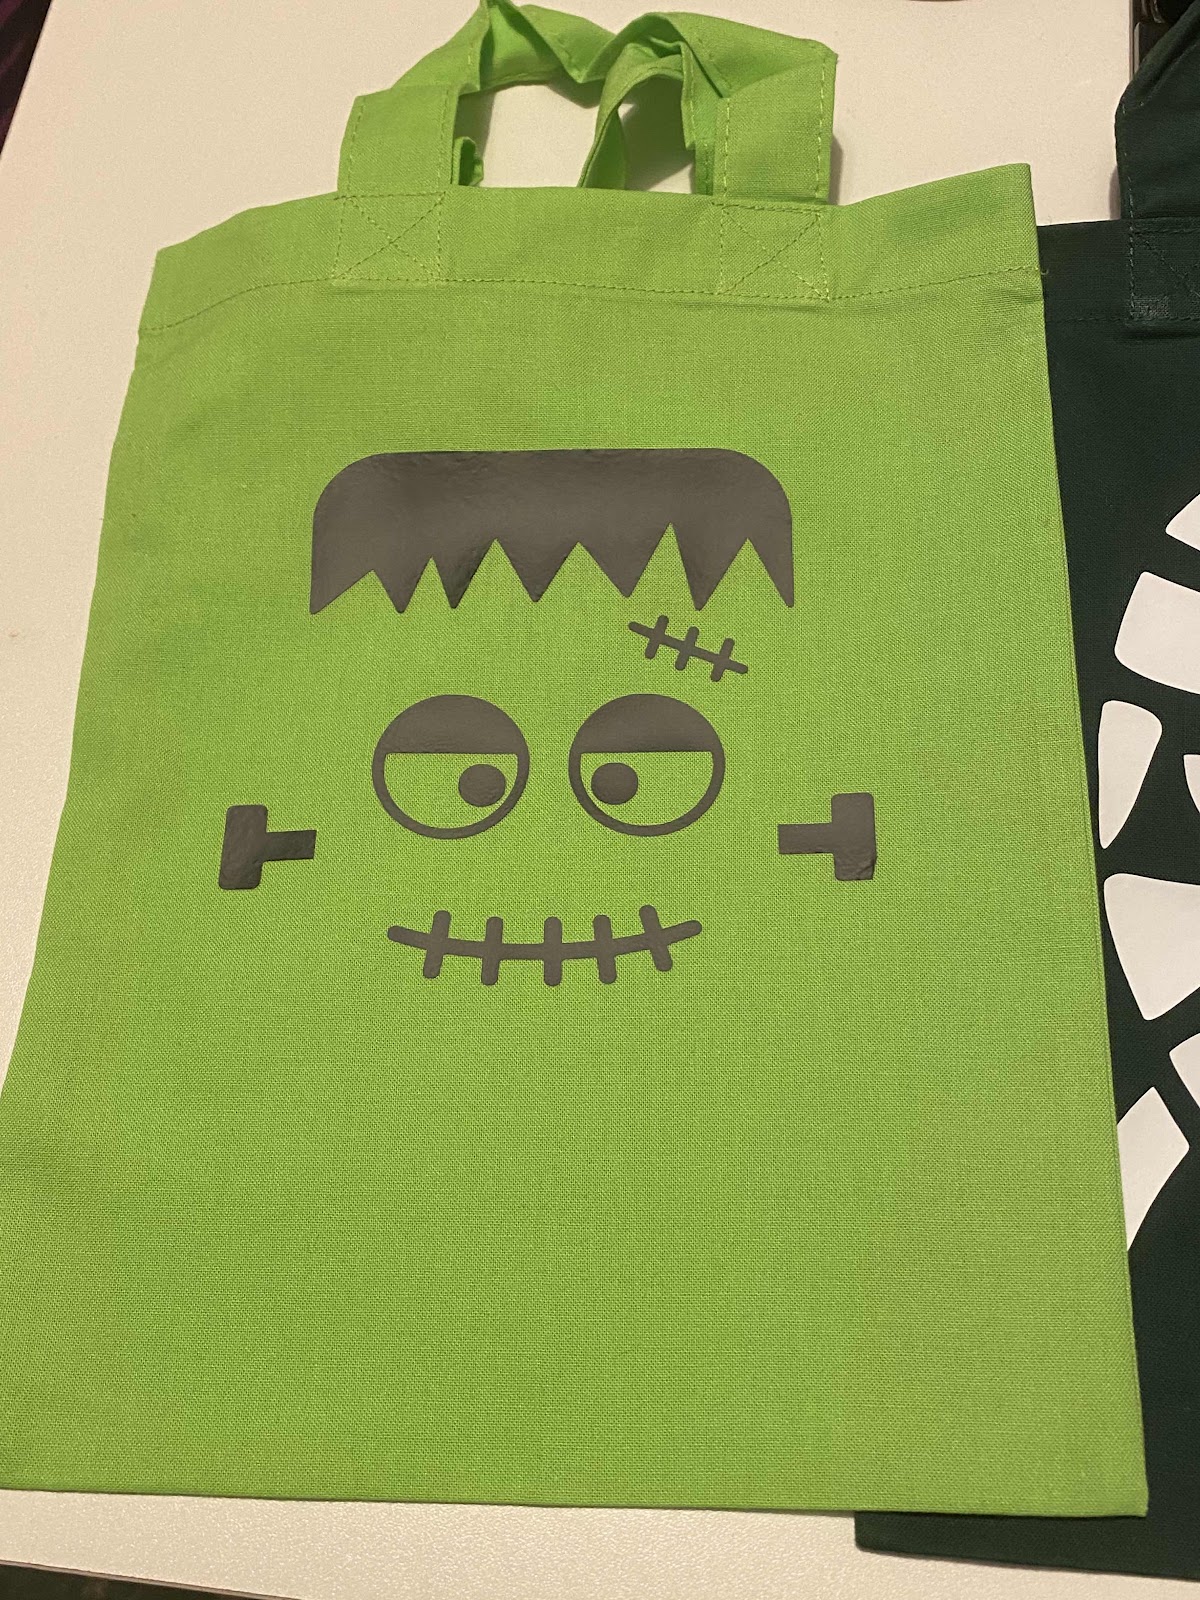
Don’t know about you but my mind sang that title line. As I did when I saw this design on designbundles.net It’s been a long while since I did a heat transfer vinyl (HTV) project with my Cricut and decided today was the day. Did the day cooperate? No it didn’t but finally got there in the end. 

I used to keep my spare canvas bags and sublimation bags in separate places. A while ago I decided to organise everything craft wise and put them in the same place. Then promptly forgot and dragged out so much looking for a tote bag today. After much coffee and muttering to myself I finally had a brainwave and remembered. By that time I had to go do my motherly and grandmotherly duties and had to wait until this evening to complete this tote bag 

Another bag to try not to forget when I go shopping  somehow I’m hoping the pretty shiny and sparkling parts will catch my eye and make me remember to pick it up. I’ve used standard HTV, glitter and metallic. It’s so pretty and apart from the wording it was all done with my off it’s so didn’t cost to much to make. 

Might have to make a Halloween themed bag next. I did make some trick or treat bags a few weeks ago for my granddaughters. They won’t be trick or treating but they can receive the bags with some treats from me :-) 


Sunday, 17 November 2019

Crafting crackers

A few things are an absolute must for Christmas day in our house. Trifle for dessert and crackers to pull around the table. 
Usually, I end up leaving the crackers until the last moment and end up rushing around looking for some. However, they always disappoint me a little with the contents as most the plastic trinkets get left behind by their winners and end up being thrown away. The solution was to drag out my Cricut machine and look up a template for my own. No plastic will be used for the 'prize' inside saving the need to throw out things that can cause damage to wildlife or clog up landfills.

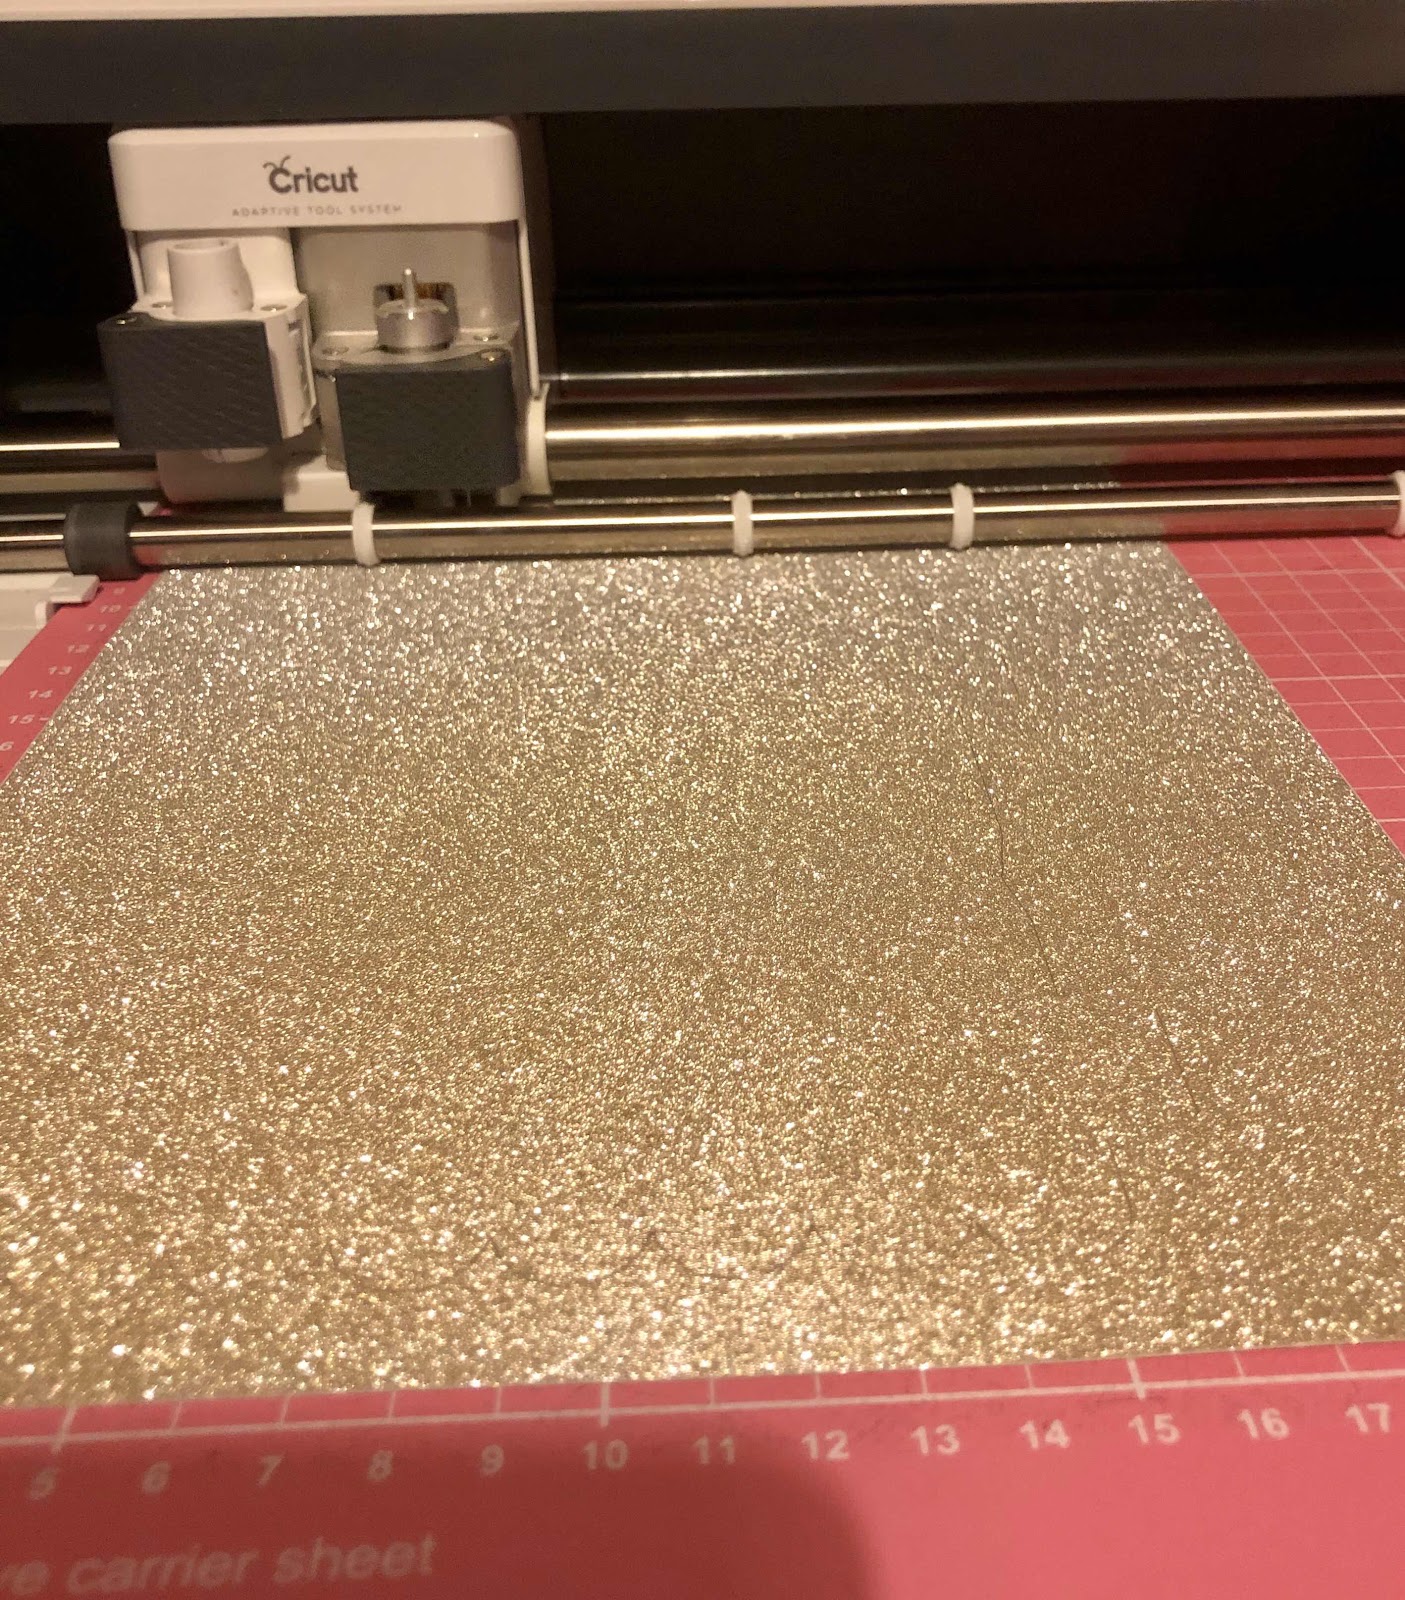
I used Hobbycraft glitter ombre care in silver and gold. I have snaps for the 'bang' inner from eBay.

Lucky 13 was the number I cut out this evening.

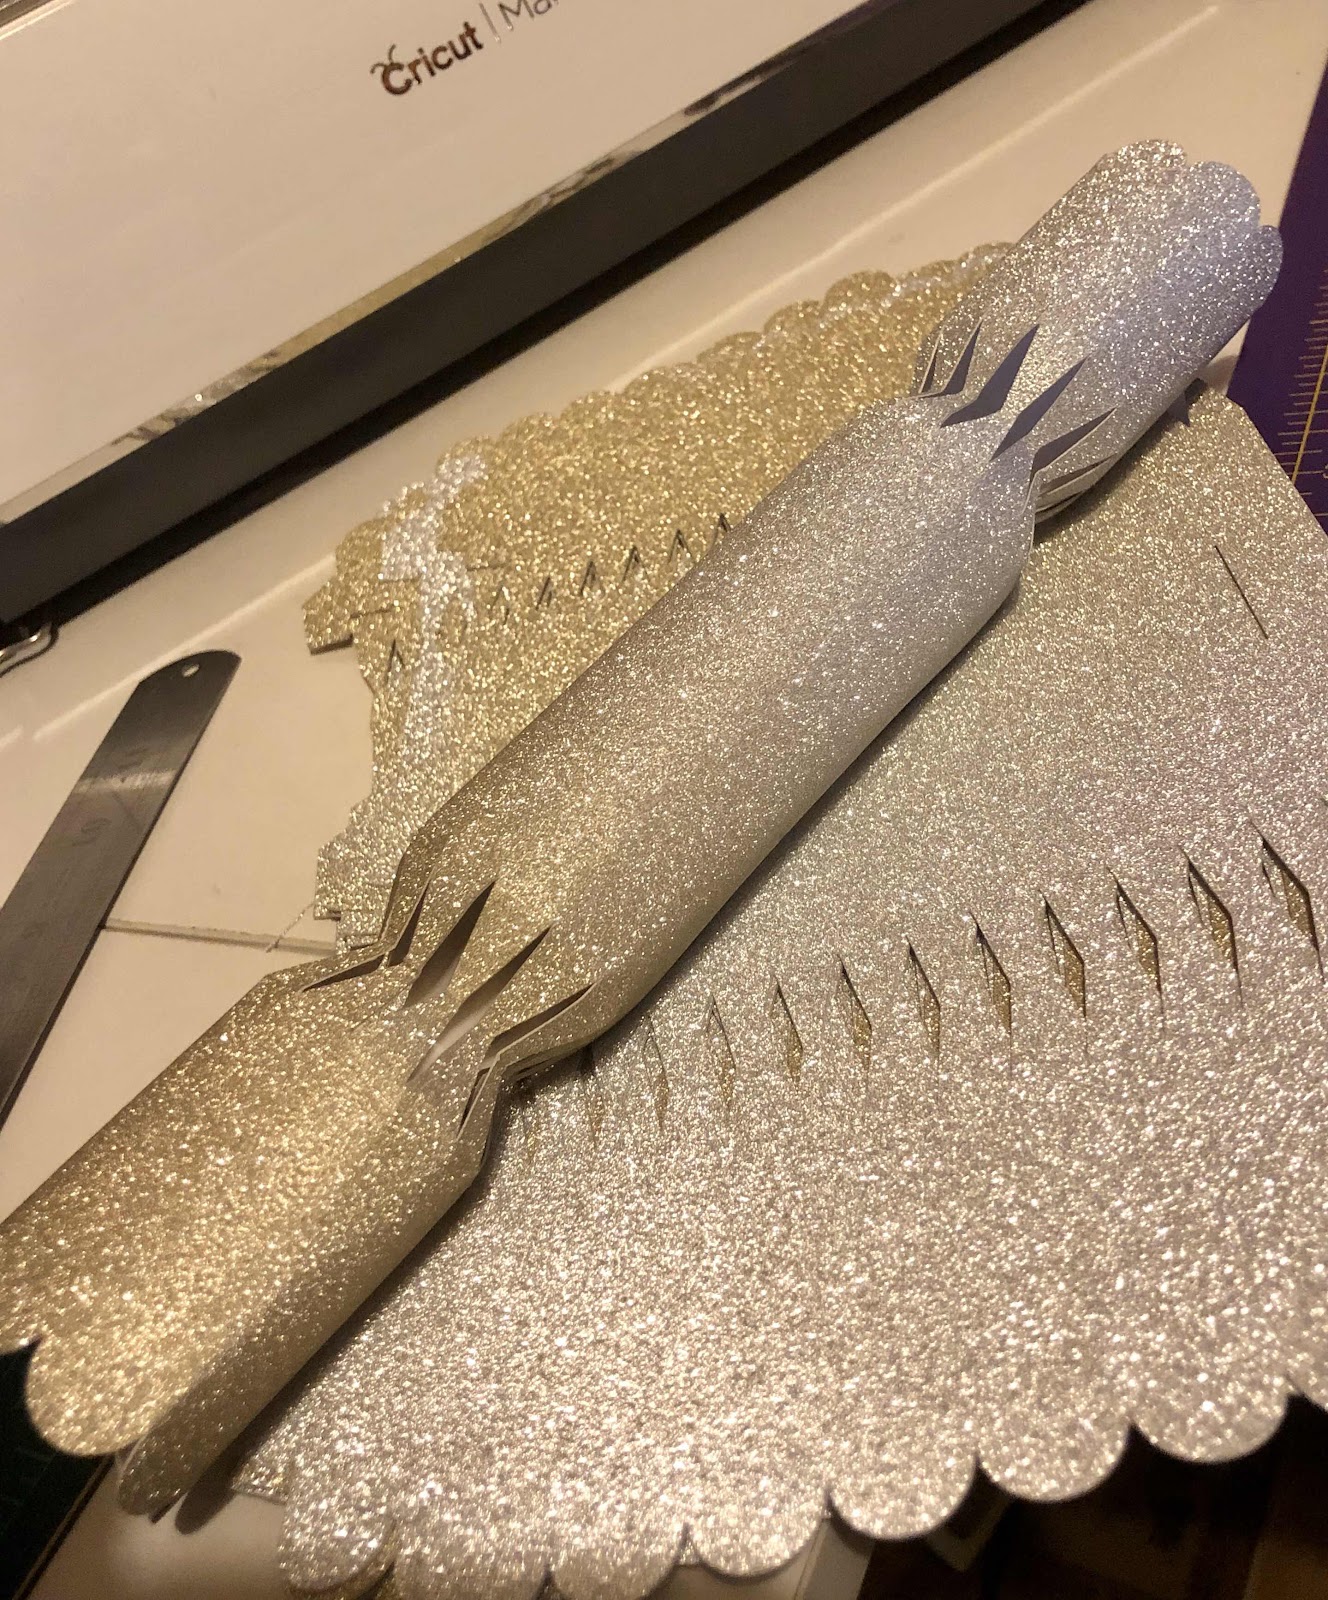
The hardest part was having the patience peeling off the diamonds left on the mat when everything else got peeled off.

Number 13 was used to see how easily they will go together and they have worked well.  Will use some bold dark ribbon I think.  My idea is to fill with the usual tissue paper hats, a handwritten joke and a little personal gift.  So each cracker will be labelled with the recipient's name. Not sure how I want to do that yet but I am already so excited to put these together and use them.

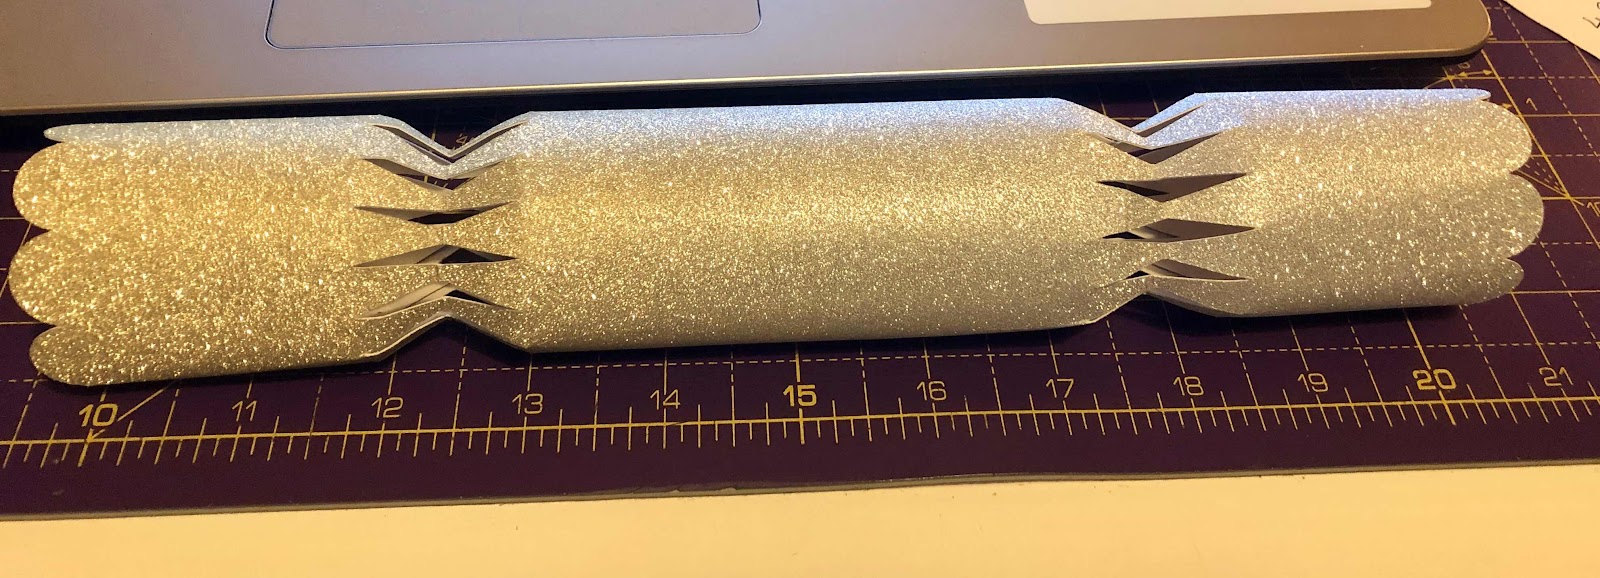
Here's a simple side view. at around 11 inches long I am happy with the size it has come out at. 
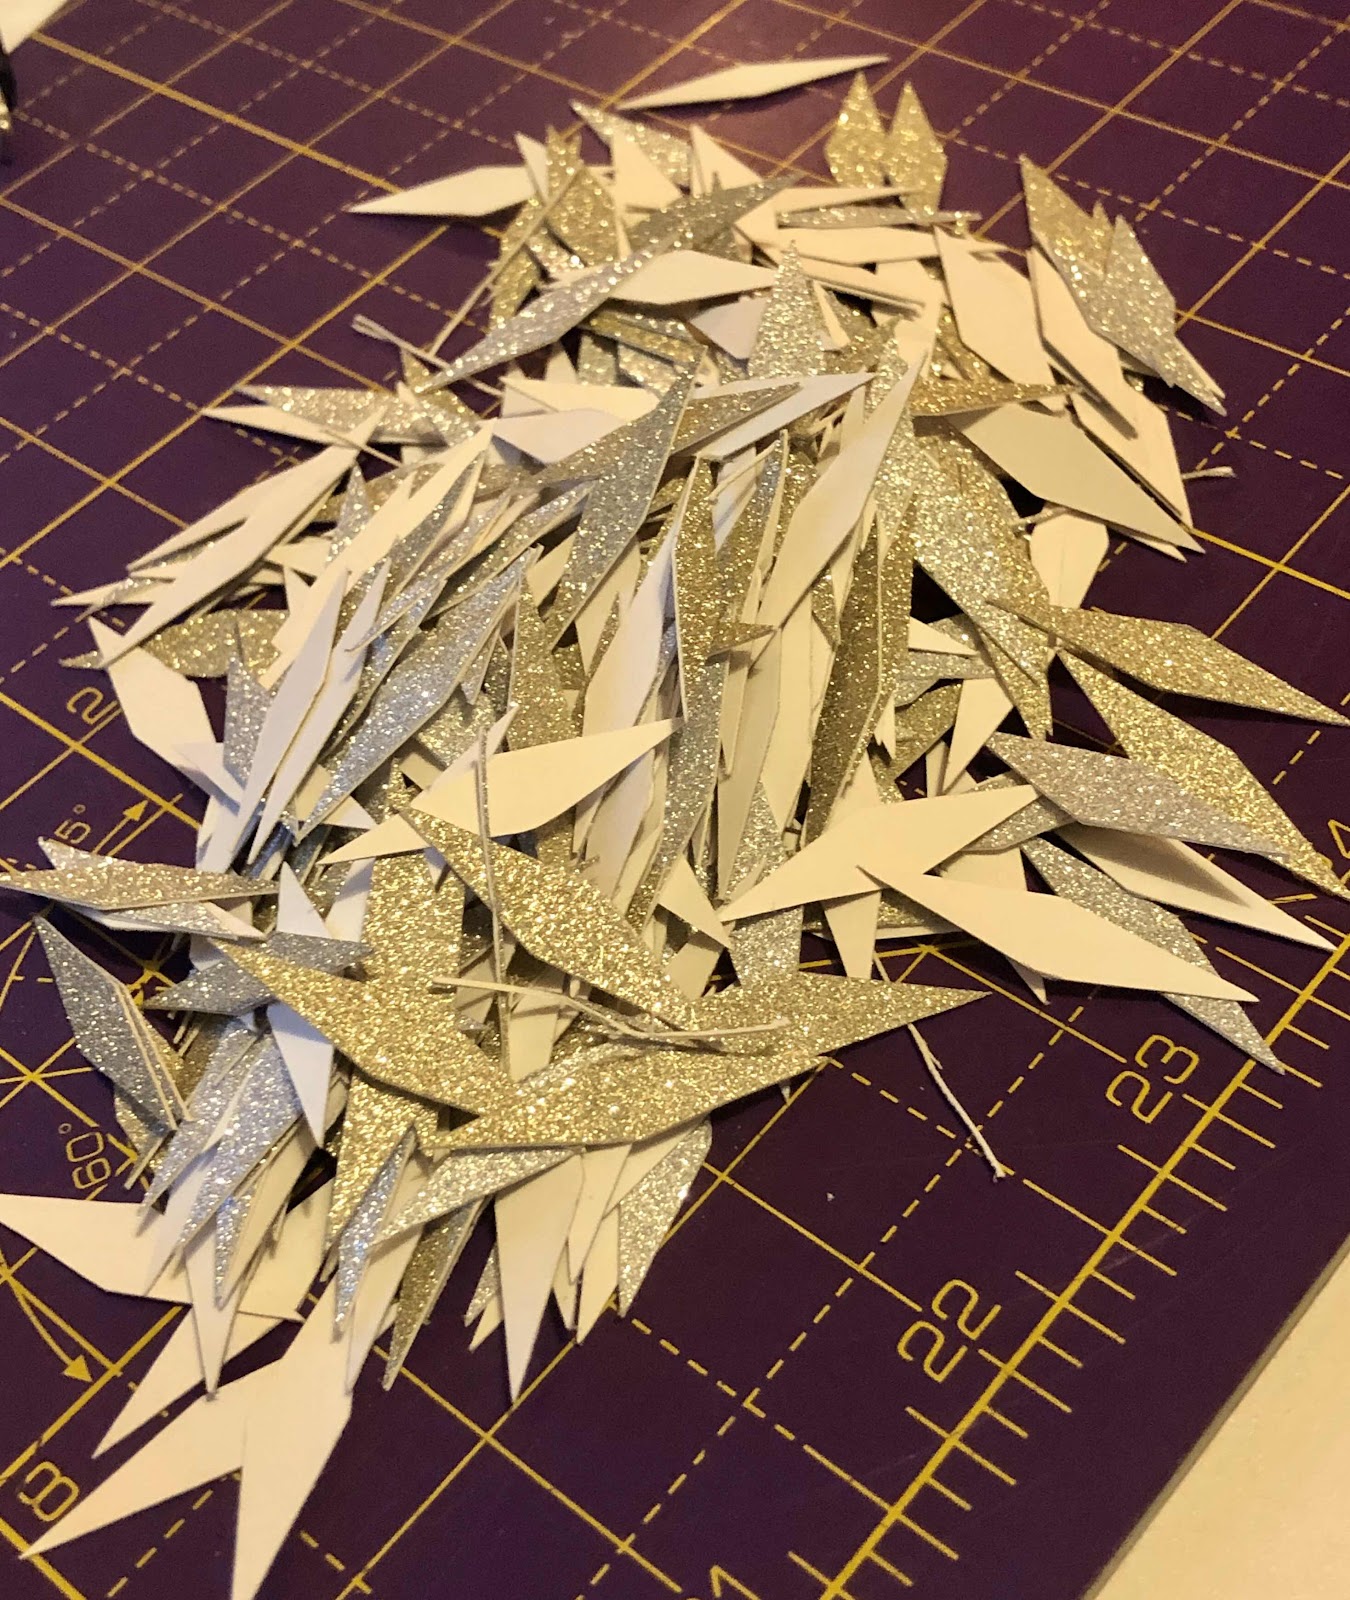
Always my favourite way of ending my crafting session, admiring the craft confetti.  Be it card, paper, glitter, fabric or yarn I always enjoy playing with the scraps and thinking of a use for them.  My urge for this pile is to see if the pieces will glue into star formations.  Only one way to tell.

Wednesday, 12 June 2019

Tic Tac Toe, Noughts and Crosses and buttons DIY

One of the things I always remember as a child was my Nans then my Mums button tin.  Such a source of amazement and wonder sorting through and playing with the buttons. Plus they came in handy for when you needed buttons of course. Over the past years I have slowly built up my own tin and it still feels like a wonder going through and discovering the right button for what you need or imagining what they belong on.

Today though, I was on the search for buttons for a game of noughts and crosses as we tend to call Tic Tac Toe here in England.


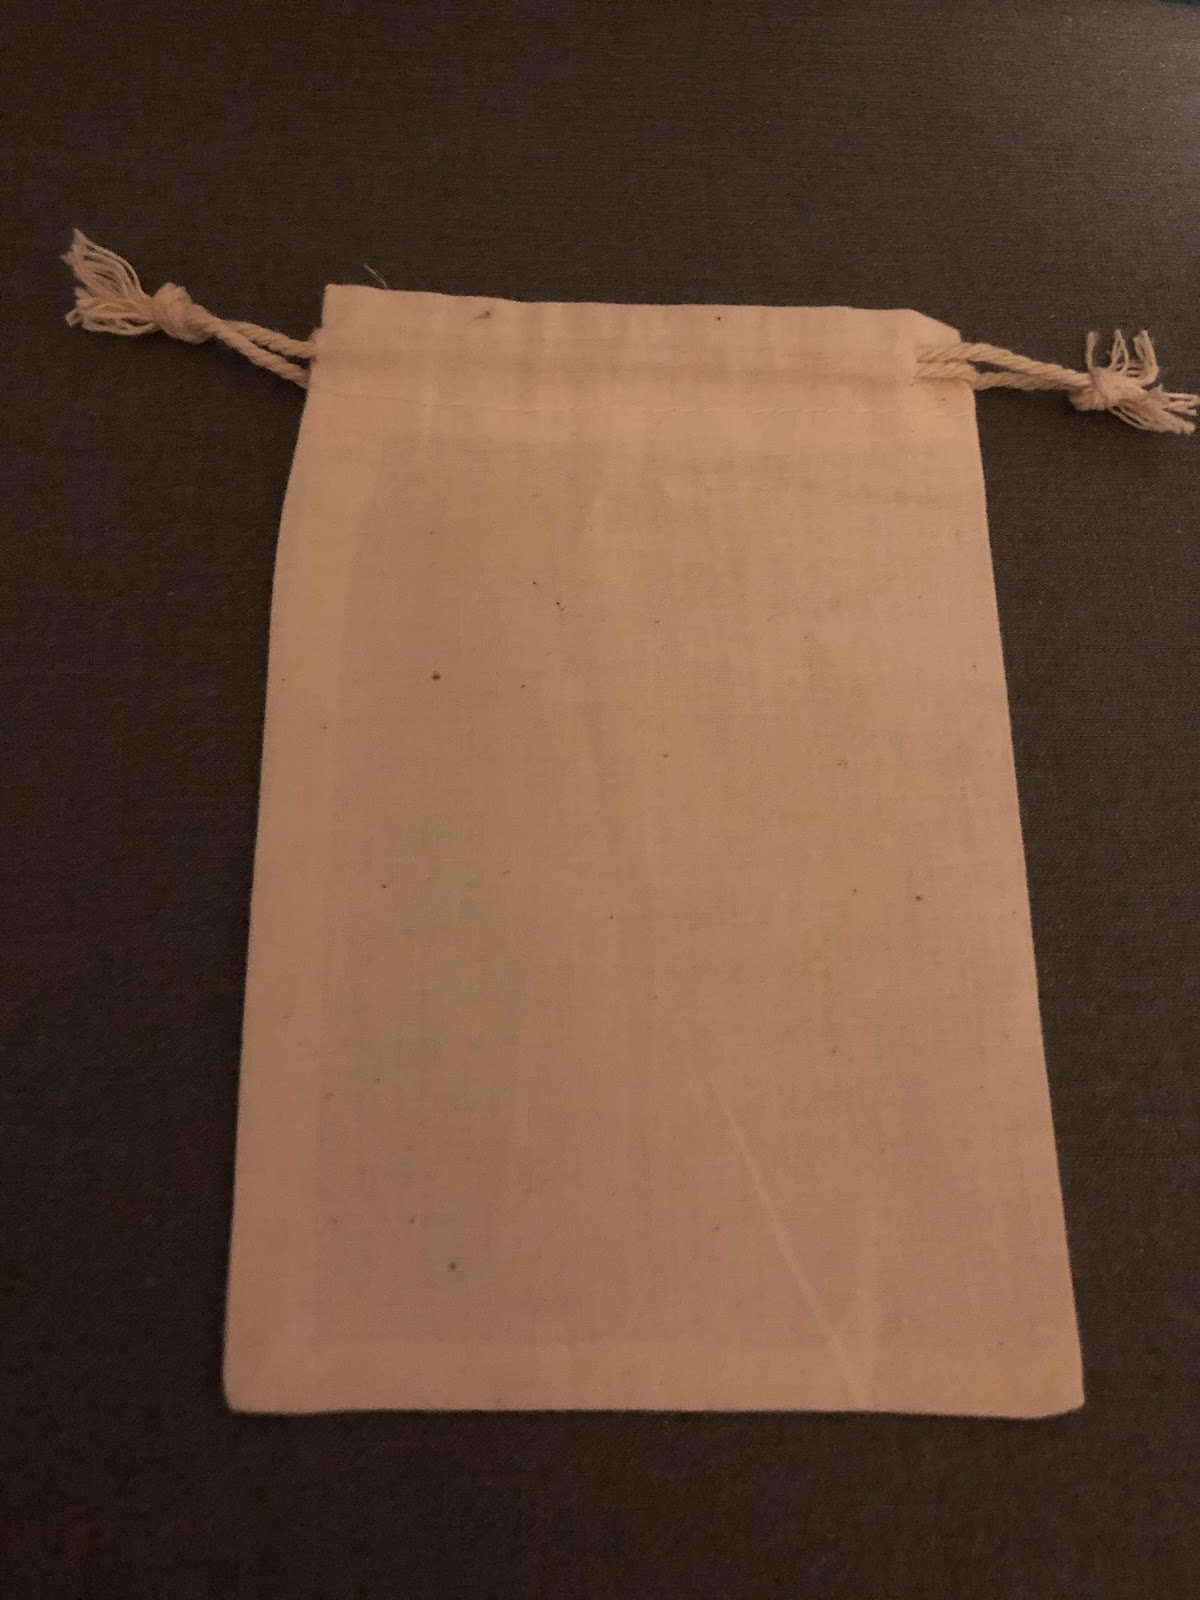
The idea came about knowing I had a few of these little cotton drawstring bags left over from another project a while ago. Having seen little games in similar bags I set out to make a set of my own for something the granddaughters could possibly play with on a rainy day or when bored.

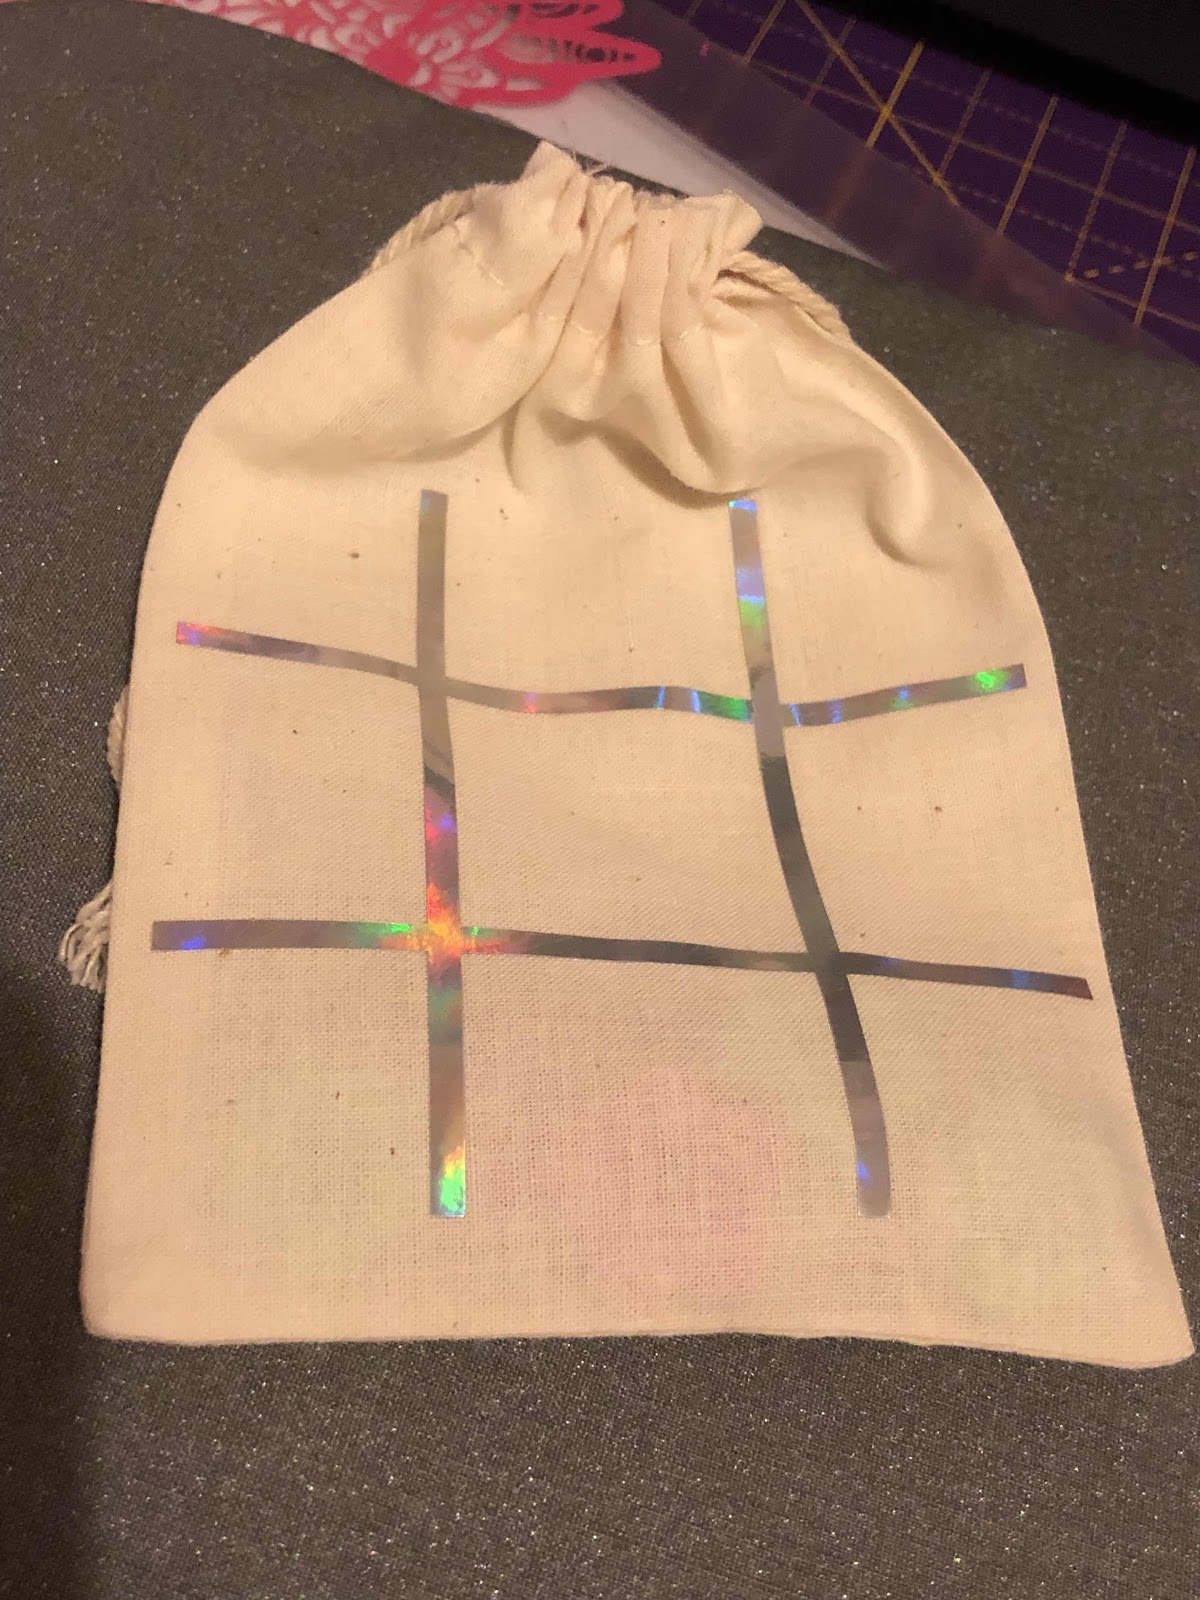
Went for a rummage through my bag of vinyl and heat transfer vinyl scraps and found a perfect size of silver holographic HTV. It was fairly quick and easy to make up the grid in Cricut design space by manipulating squares into long lines and welding them together when in the right layout.

Pressed the HTV onto the drawstring bag and filled with7 buttons each of 2 colour flower buttons. I know you don't need 7 for a game but a few are probably at some point going to get lost.  If they all do then the girls will just have to discover the delights of a button tin themselves and come and find some new ones.

All in all a quick and easy satisfying project. All things were on hand just laying around my craft area somewhere. I'm really embracing this use what you have challenge I have myself doing.  It's making me look at things a little differently and thinking up new ways to use older supplies.

Thinking about it if you didn't have or can't use HTV you could used fabric paint or markers to make up the grid, It really is quite adaptable. All sorts of things could be used for the counters to.  Obviously needing to be age appropriate due to choking hazard etc.


Sunday, 9 June 2019

glitter dog and tote bag

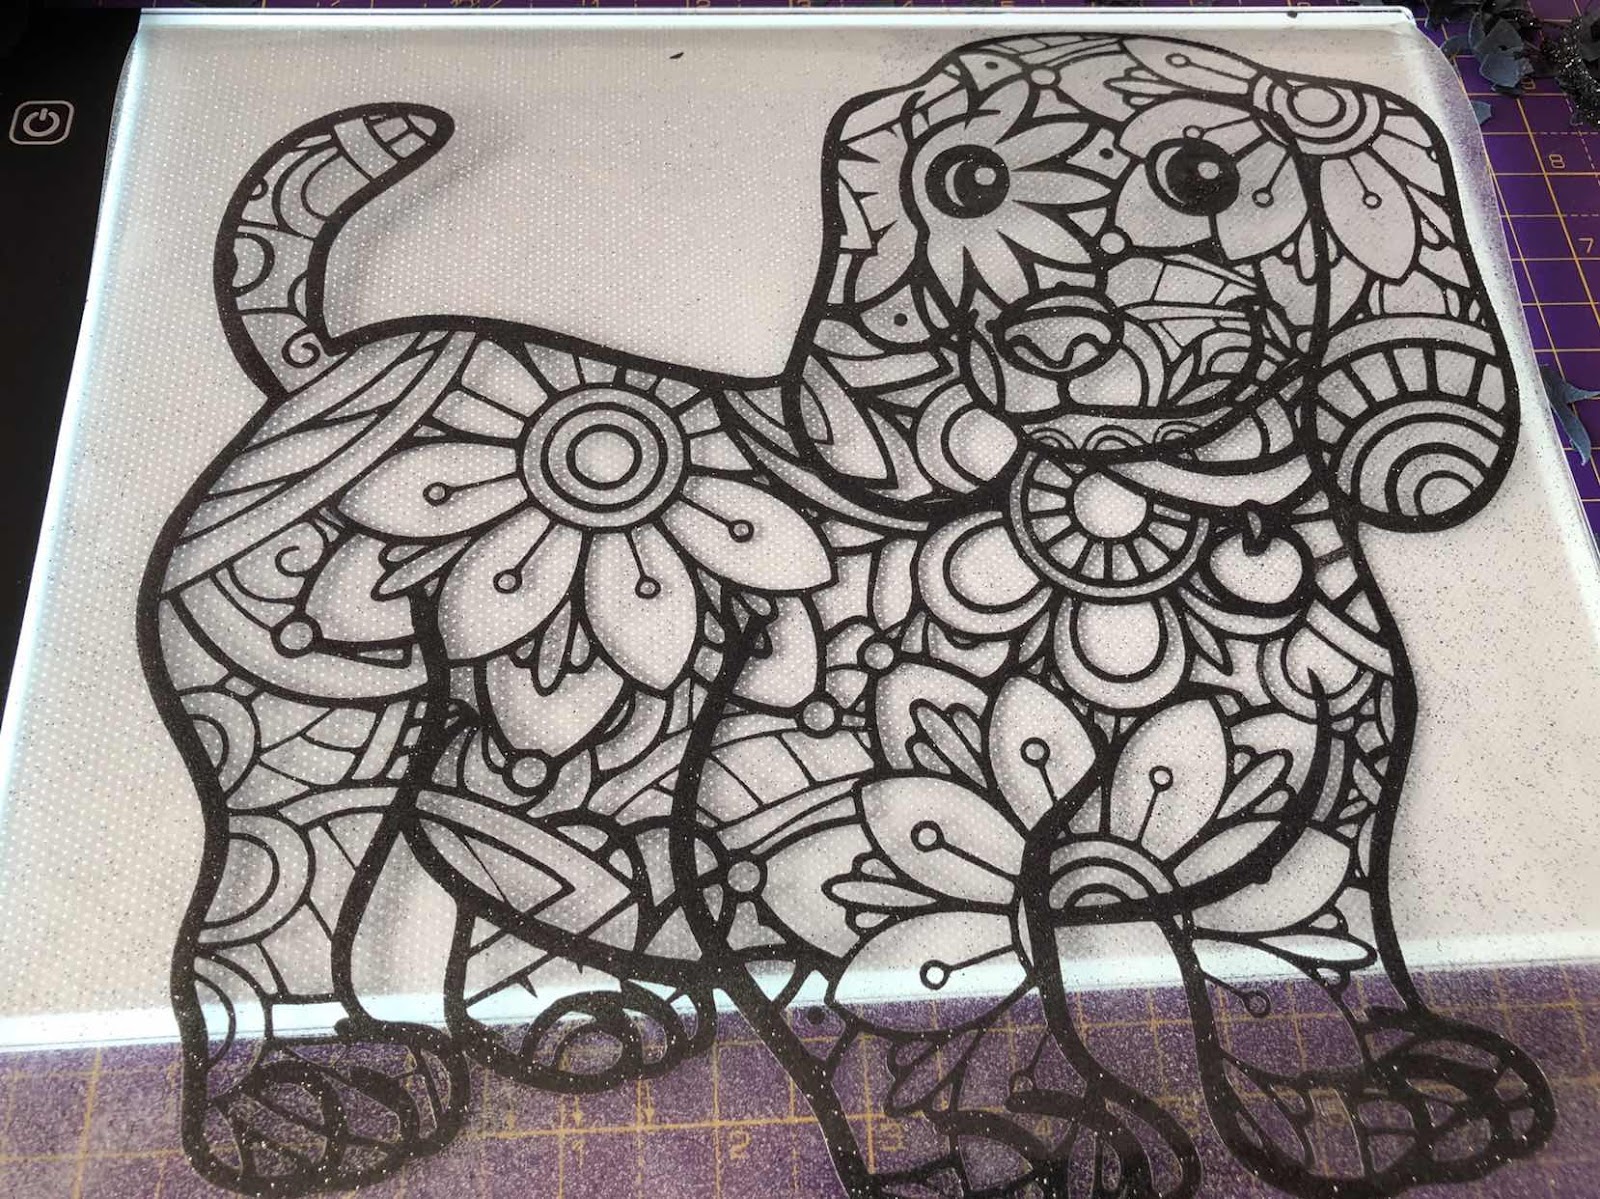
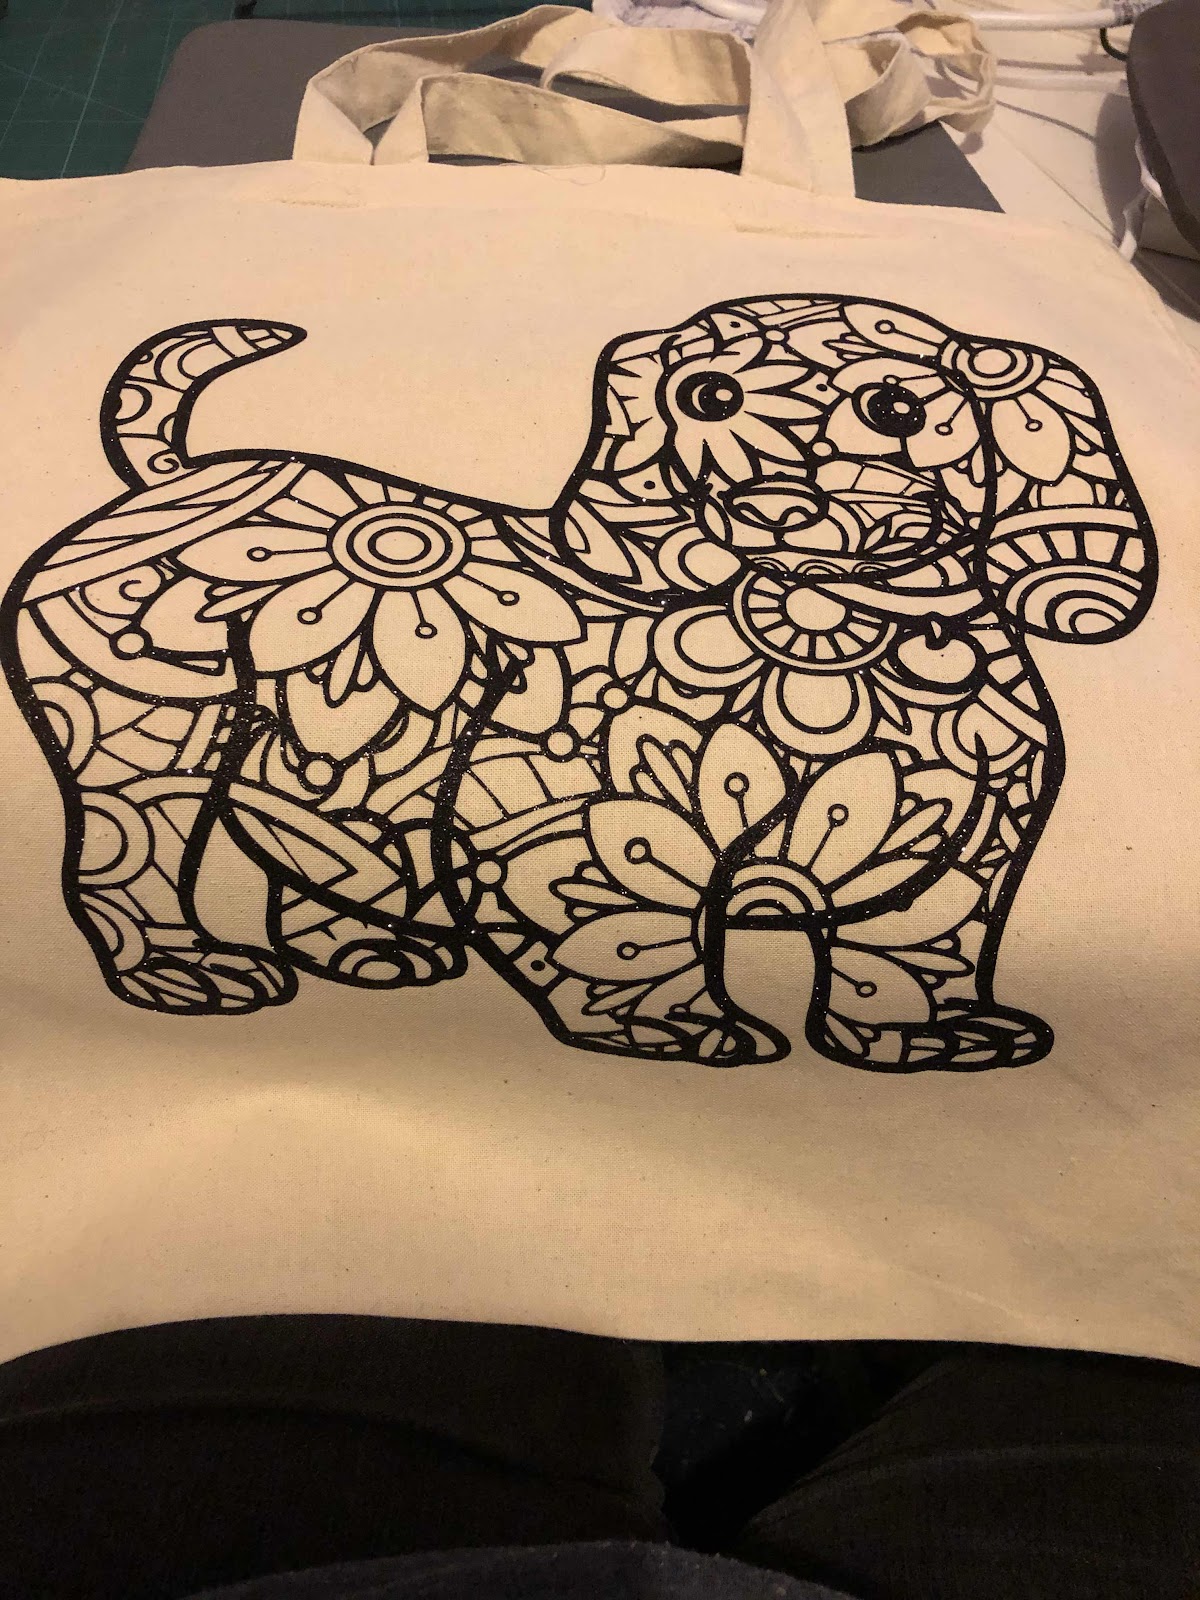
While surfing the internet for SVG cutting files the other night I came across this beauty from Wispy Willow designs. It is apparently a dachshund dog.  Which I have no problem with whatsoever. It does, however, strike an amazing resemblance to my DIL dog who is not a dachshund. 

I cut this out on the Cricut and thanked my lucky stars I hadn't decided to go old school with a scalpel and do it by hand like when I used to do papercuts. It took a fair while to cut and as I did I patiently did something else while checking once or twice all was well with the cut.  Then came the fun part the weeding.  Dreading this part as was convinced weeding, or removing the unneeded pieces, was going to take me all day.  It didn't however. Listening to a Terry Pratchett audiobook and a break to chat with my son I had it finished in around 80 minutes.  What I thought was going to be a stressful undertaking turned out to be very calming.  It came out just fine and despite being glitter iron-on by Cricut it behaved remarkably well.
The pile of leftover and weeded pieces give a better idea of how it sparkles.  my DIL got me into glittery things a while back so this particular make had to be glittery and sparkle.
Once pressed onto a tote bag I knew I would be making at least one more at some point soon as love how this came out. 
I really thought this Zentangle style or mandala style of file would be a pain the neck to weed and use but I'm already looking at what else I could do in a similar style soon. 

Thursday, 30 May 2019

Bubbles, yarn and vinyl

The plan of working from my list of eight things is falling by the wayside a little. However, I am still using what I have and am being productive. 

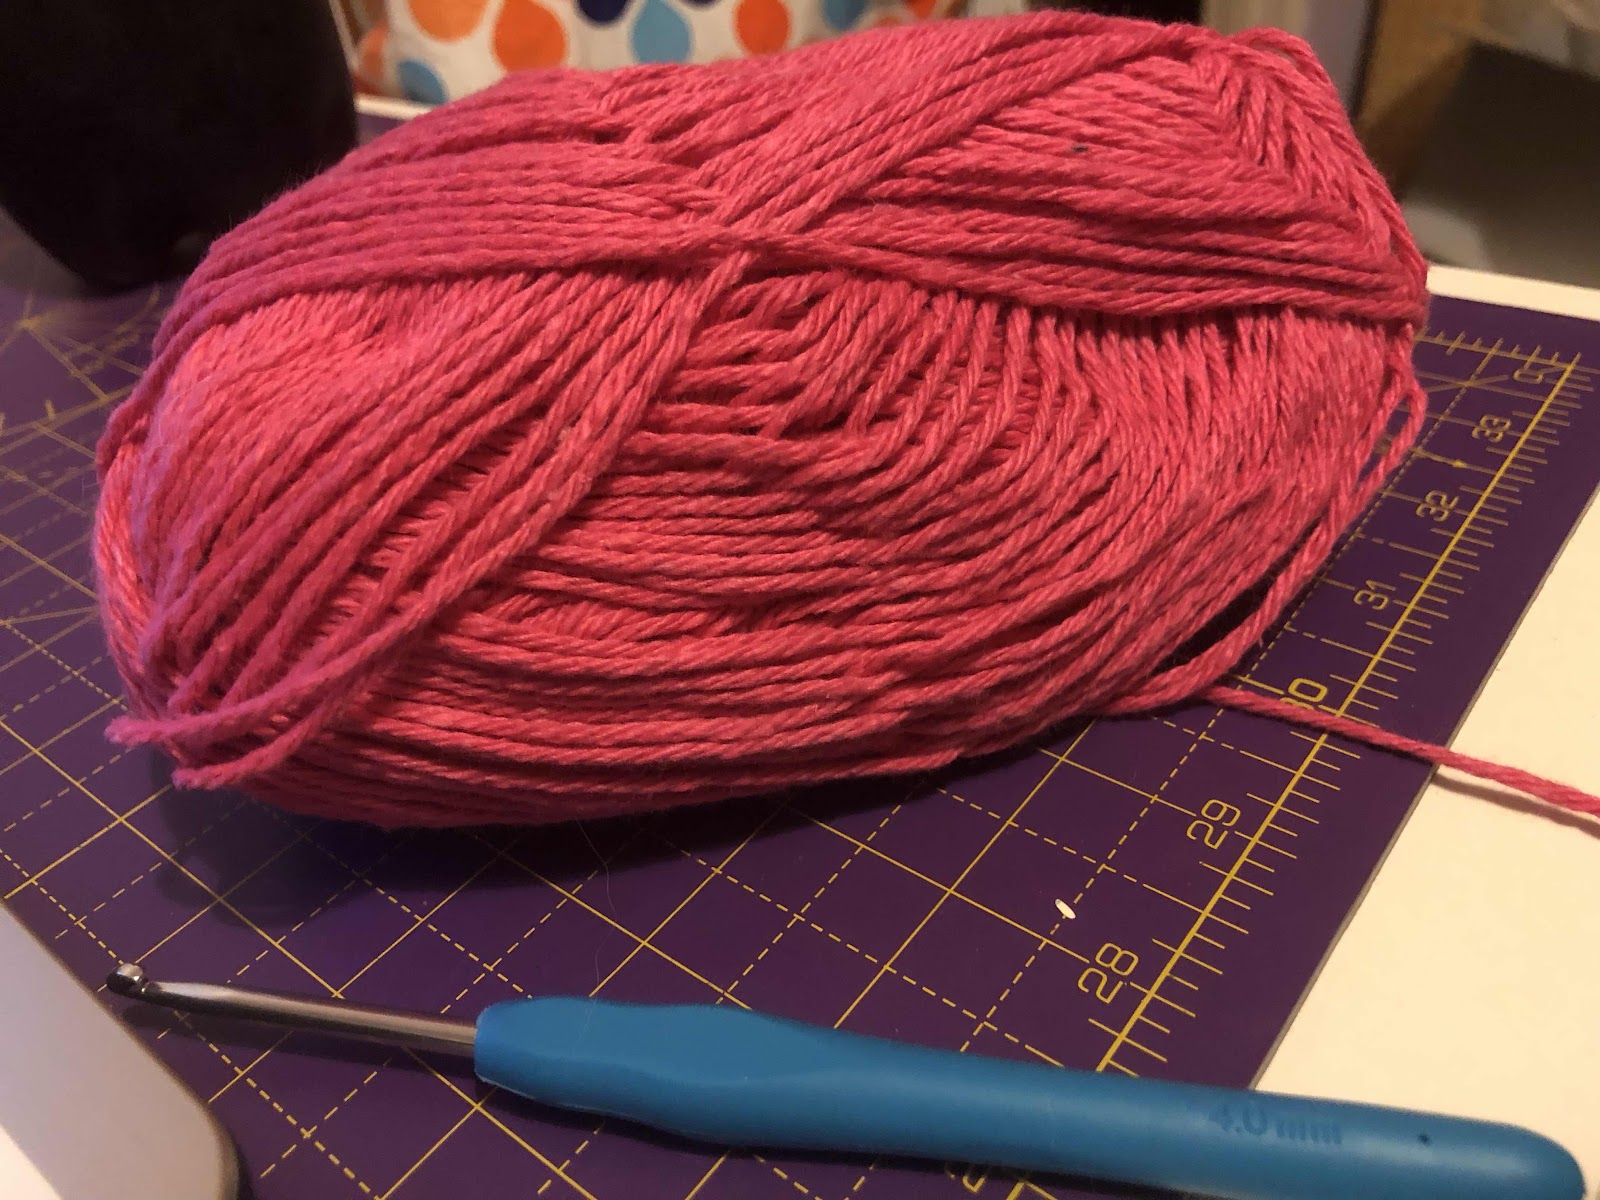
Last night I started watching things on Netflix and decided to look through my yarn as fancied crocheting something. Came across this lovely dark pink cotton. Yet again another one of my shower poufs/loofah/scrubby things has fallen to bits leaving me with a long length of net so I decided to crochet up a cotton one that won’t unravel and won’t end up clogging up a landfill or being harmful to wildlife 
It’s coming along well. I’m a slow crocheter so I will carry on and finish this one tonight hopefully and if there’s enough yarn I will make another one up for someone else maybe. 
My younger son has a few jokey periodic table t shirts. So when I saw something similar to this on a mug I decided a shirt must be made and he was up for it. So this evening I designed this in Cricut design space and cut out the HTV vinyl, with my Cricut, ready to press onto the shirt tomorrow. I hope Freddie Mercury would approve ;-) 
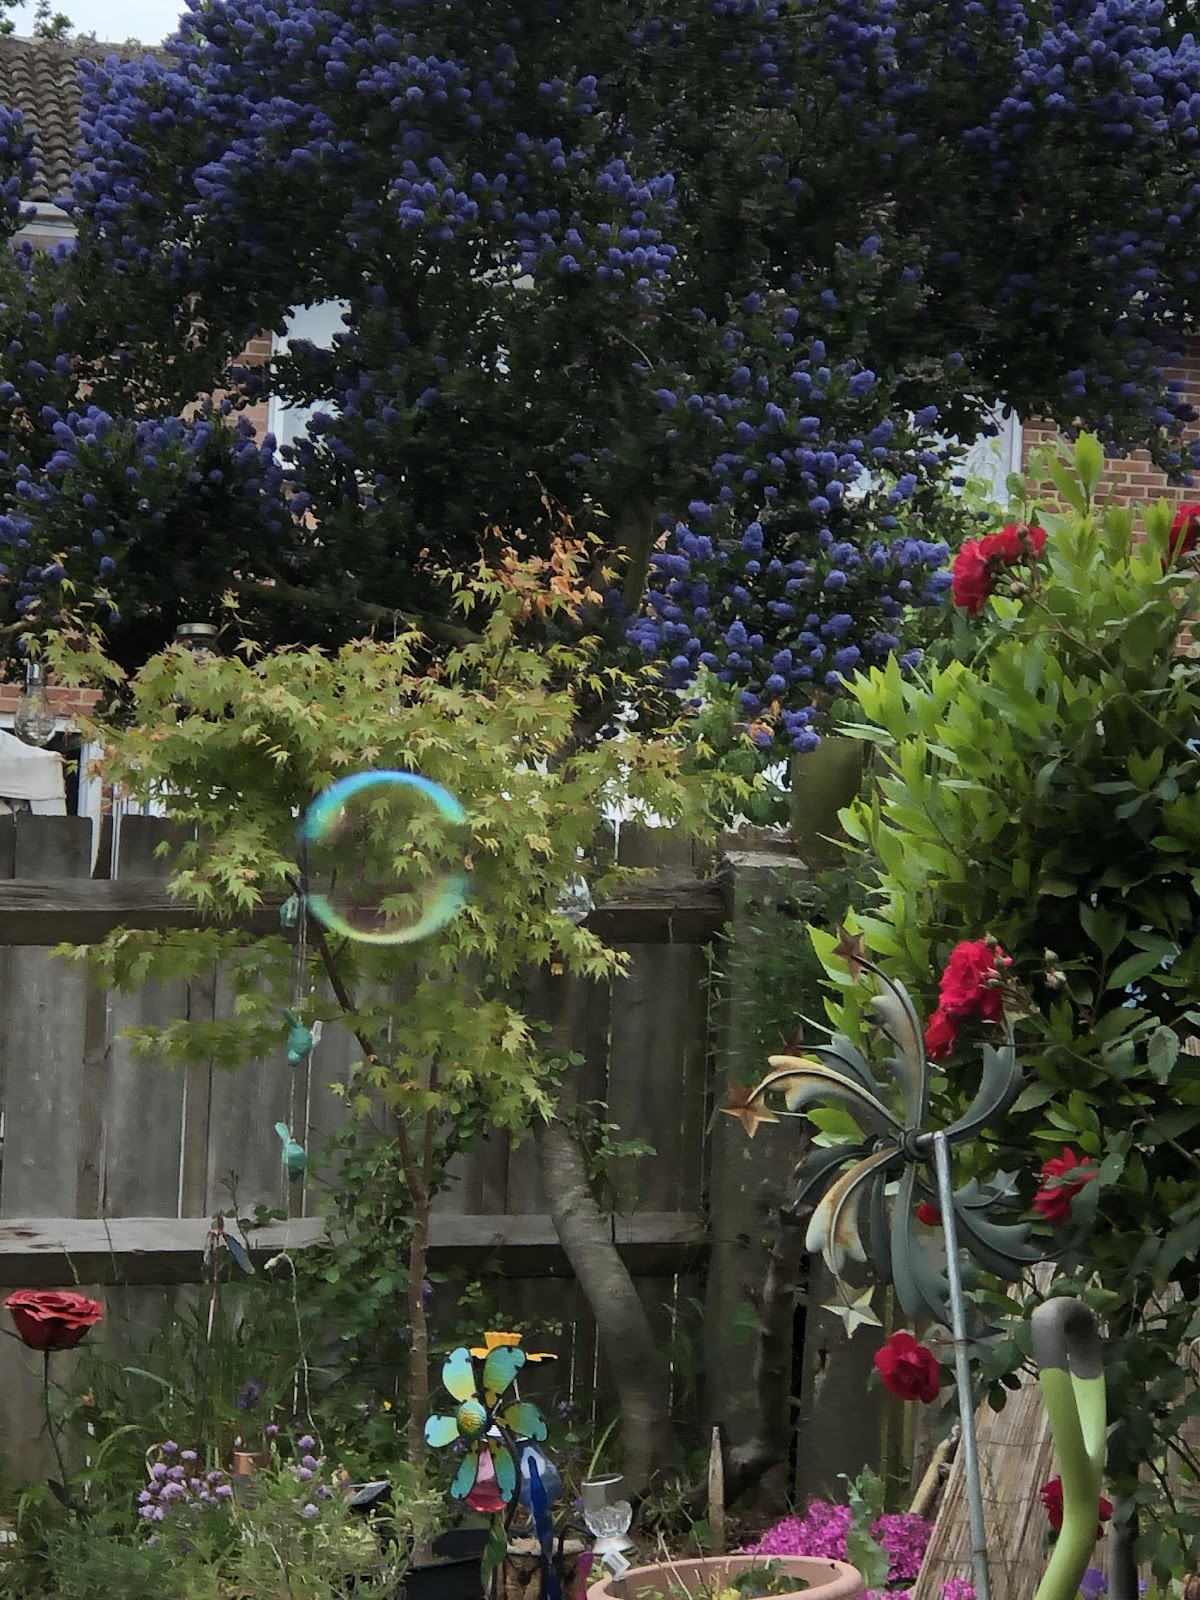
Spent some time in the garden with kids and bubbles earlier on. Loving the colours in the garden and the enthusiasm everyone has for bubbles whatever age they are. 

Really has been a fairly busy fun day. Looking forward to seeing what fun tomorrow holds being the half term but might need a rest on Saturday. 

Wednesday, 29 May 2019

Etching the afternoon away

After having a go at glass etching last week my daughter showed interest in learning how. Always being up for crafting we arranged an afternoon and settled for today and I even offered to light the bbq to cook dinner tonight. 

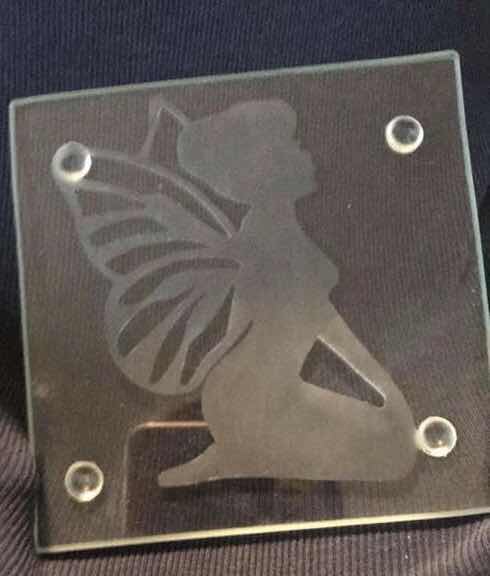
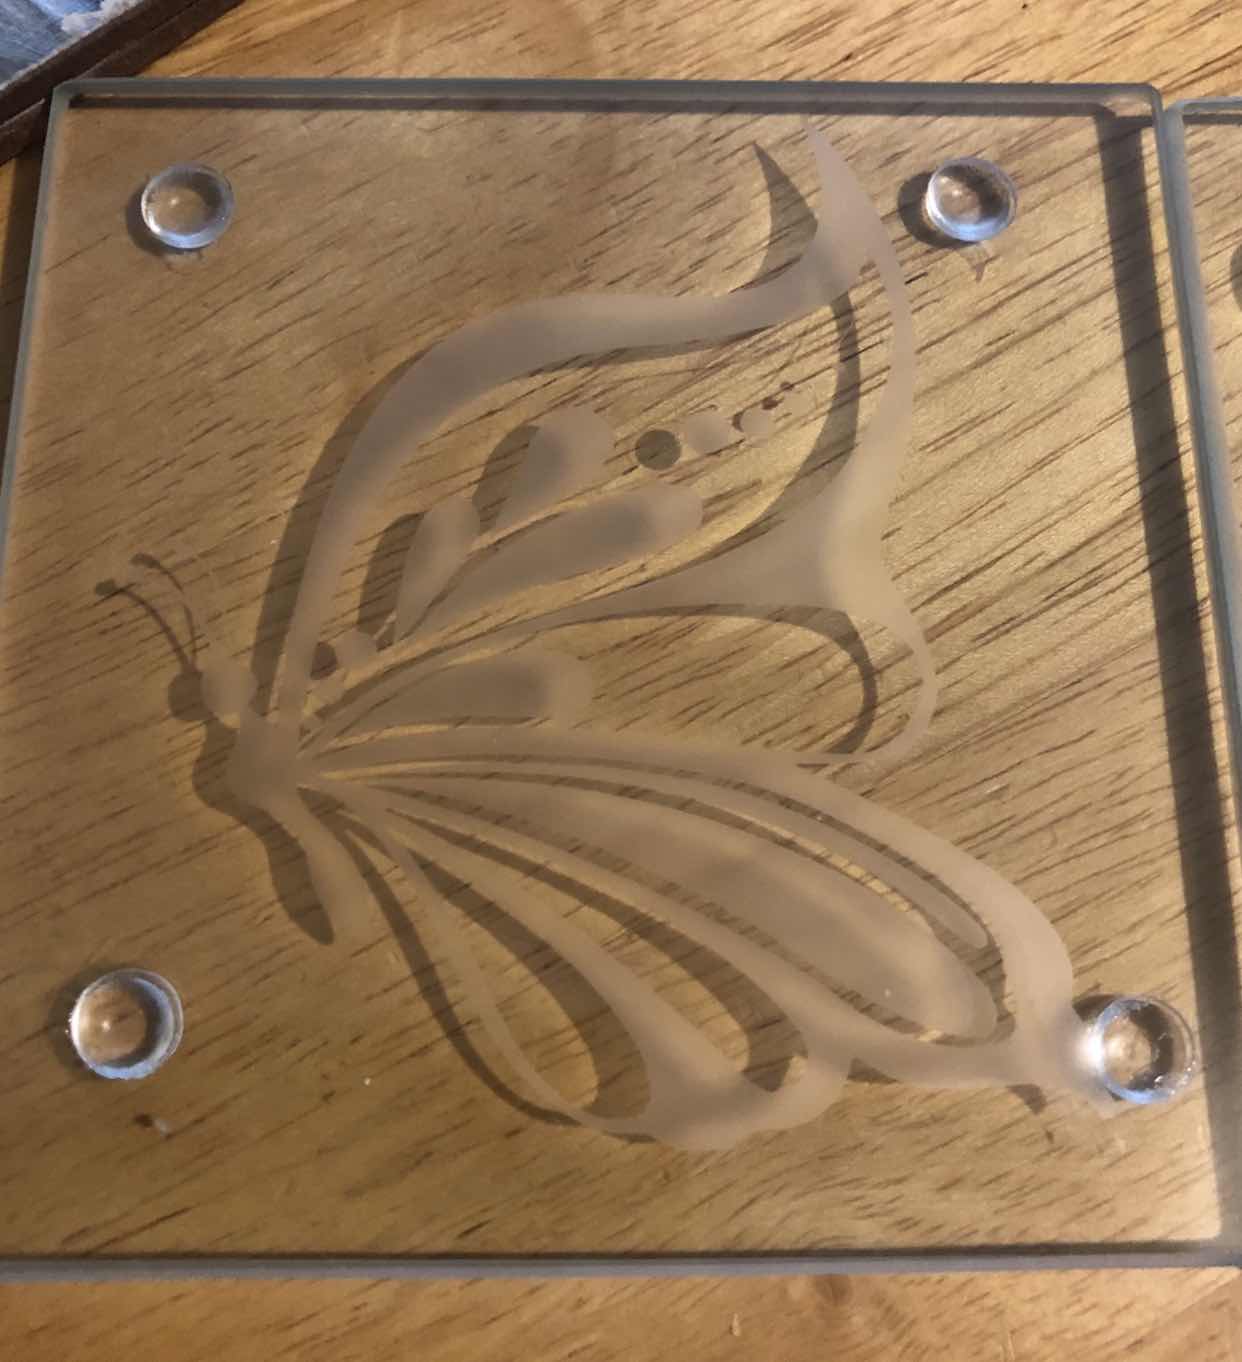
It rained and was cold enough to put even me off bbq so we ate indoors. It didn’t however put us off spending time crafting. We cut our stencils out of oracle 651 vinyl on the Cricut. Even had the granddaughters pressing buttons as needing and watching the machine cut. 

It must of all gone well as my daughter wants to come back and do more coasters or something another day. 

She made the fairy one and I made the butterfly one. Both went home with my daughter as she loved them. 


What is also cool about these is the shadow effect the etching causes in the light. 
Discussed a lot of ideas on what we could etch and what to do next so I think it’s safe to say I have gained a new crafting partner :-) 

Tuesday, 28 May 2019

Sometimes it goes wrong

Not horribly wrong but when it does go wrong you learn from it. I was talking about using what I had. Well I have 2 small A4 sized blackboards and decided to use them with a svg I have. It’s by the maker Digital Gems and was in a bundle from design bundles.com 

As it’s a split Monogram I added our family name and then when our family was established and was happy with it until I added the cut vinyl to the board with transfer tape. The tape took off patches of the blackboard coating. My thought was to reapply and take a few more areas off and to maybe distress the frame slightly. 


All in all I think it will be ok as it makes me smile. Not perfect but done at least. Needs a little something else but I’m not sure what yet. 

For the next board if I use vinyl on it I think I will seal the board first so the paint doesn’t peel off and make sure I rub the transfer over a t shirt or something similar a few times to make it less sticky. 

The project I did before went slightly wrong to. Deciding on a layered HTV project I chose 2 different makes of vinyl and with the heat they both shrunk a little unfortunately the red more than the white. It’s obviously my week of learning from my mistakes. Hubby however is still wearing his England flag proudly so cannot complain it’s not liked. 


So there’s 2 things completed in 2 days. Tomorrow I’m crafting with my daughter in the afternoon so something will get made even if it’s not for me.