Showing posts with label Fat Quarter. Show all posts

Thursday, 21 May 2020

Fabric bookmark corners

Still using scraps and these took me down memory lane. My mum once showed me how to fold paper to make a corner bookmark. I really do not like books that have had their corners turned down or creased so bookmarks are needed. Saying that I use a variety of things for bookmarks. Usually the nearest flat thin object. Receipts, membership cards, paper money, coasters, pierces of yarn....... I’m sure you get the idea. So I used 3 4 inch squares to make some corner bookmarks from fabric. 
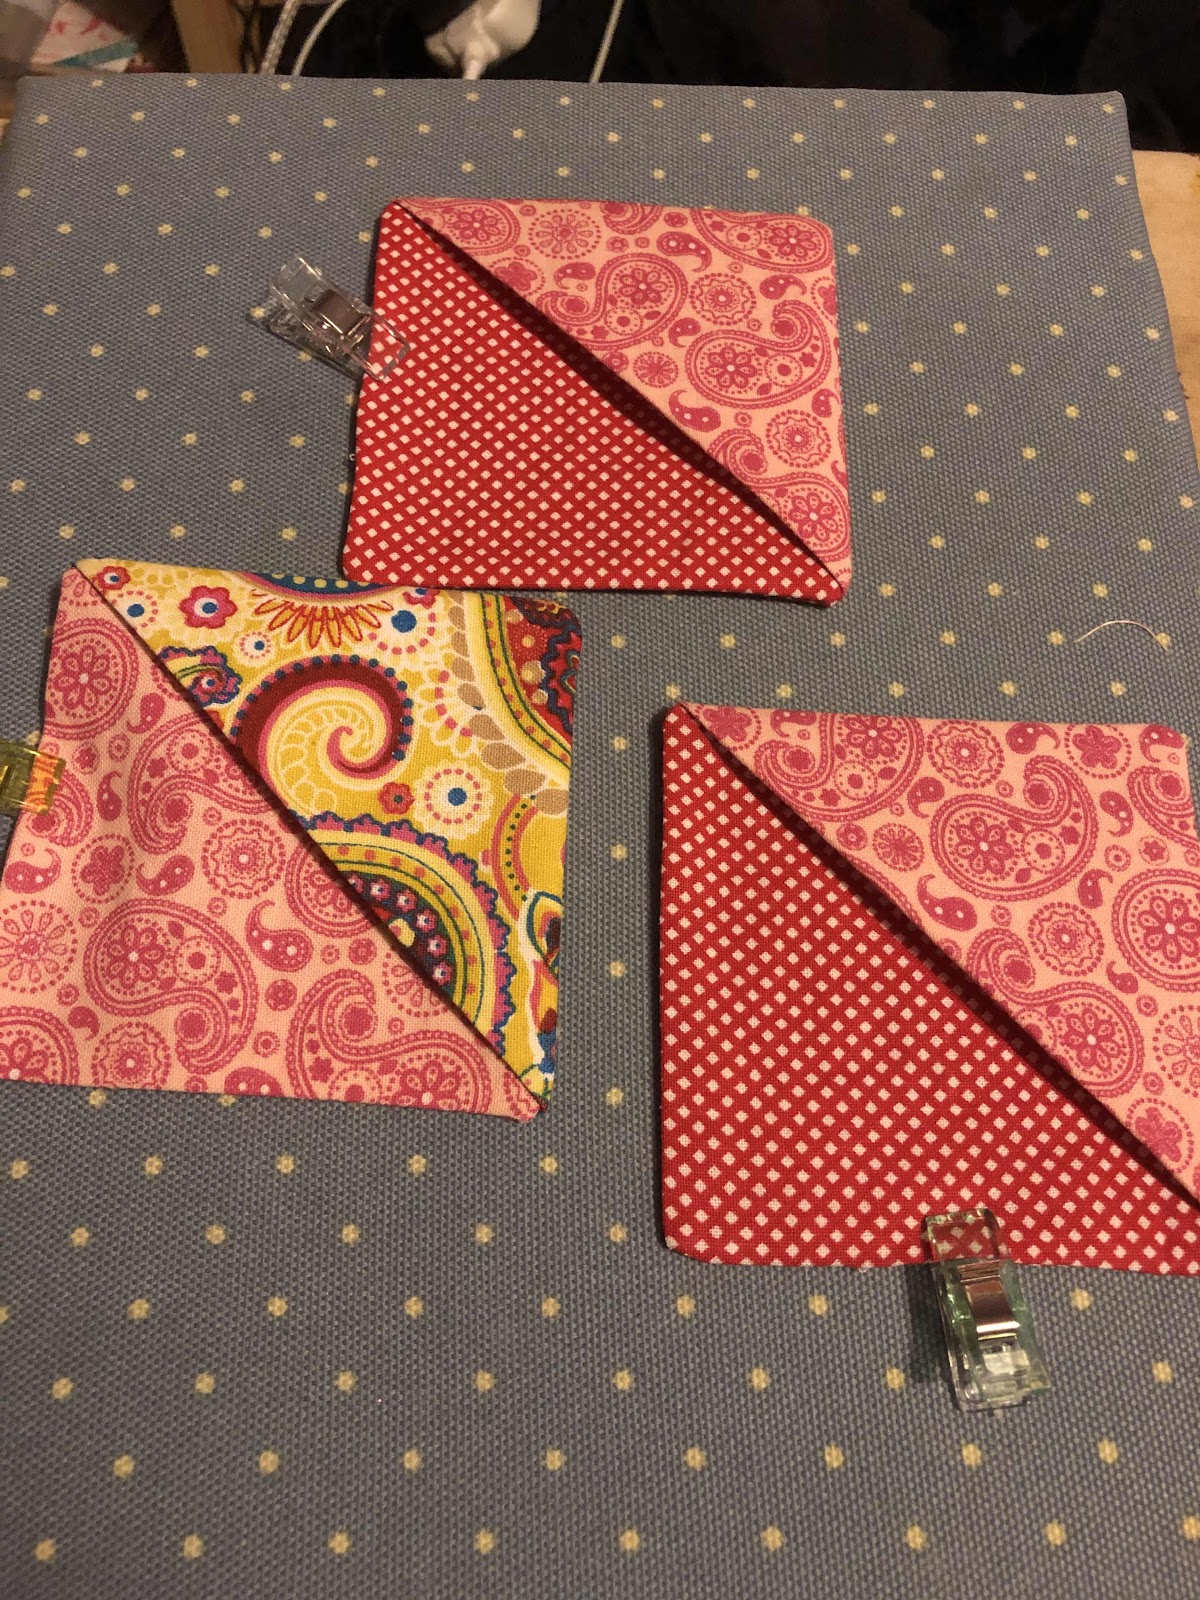
Square one was interfaced on one half by a half triangle shape and folded over and pressed into a triangle itself. This was placed on a corner of an interfaced square facing right side up and covered by a third square right side down. 

Sew all round leaving a turning gap, clip corners and turn through and press after poking corners out. Press again and top stitch close to edge closing the open edge 
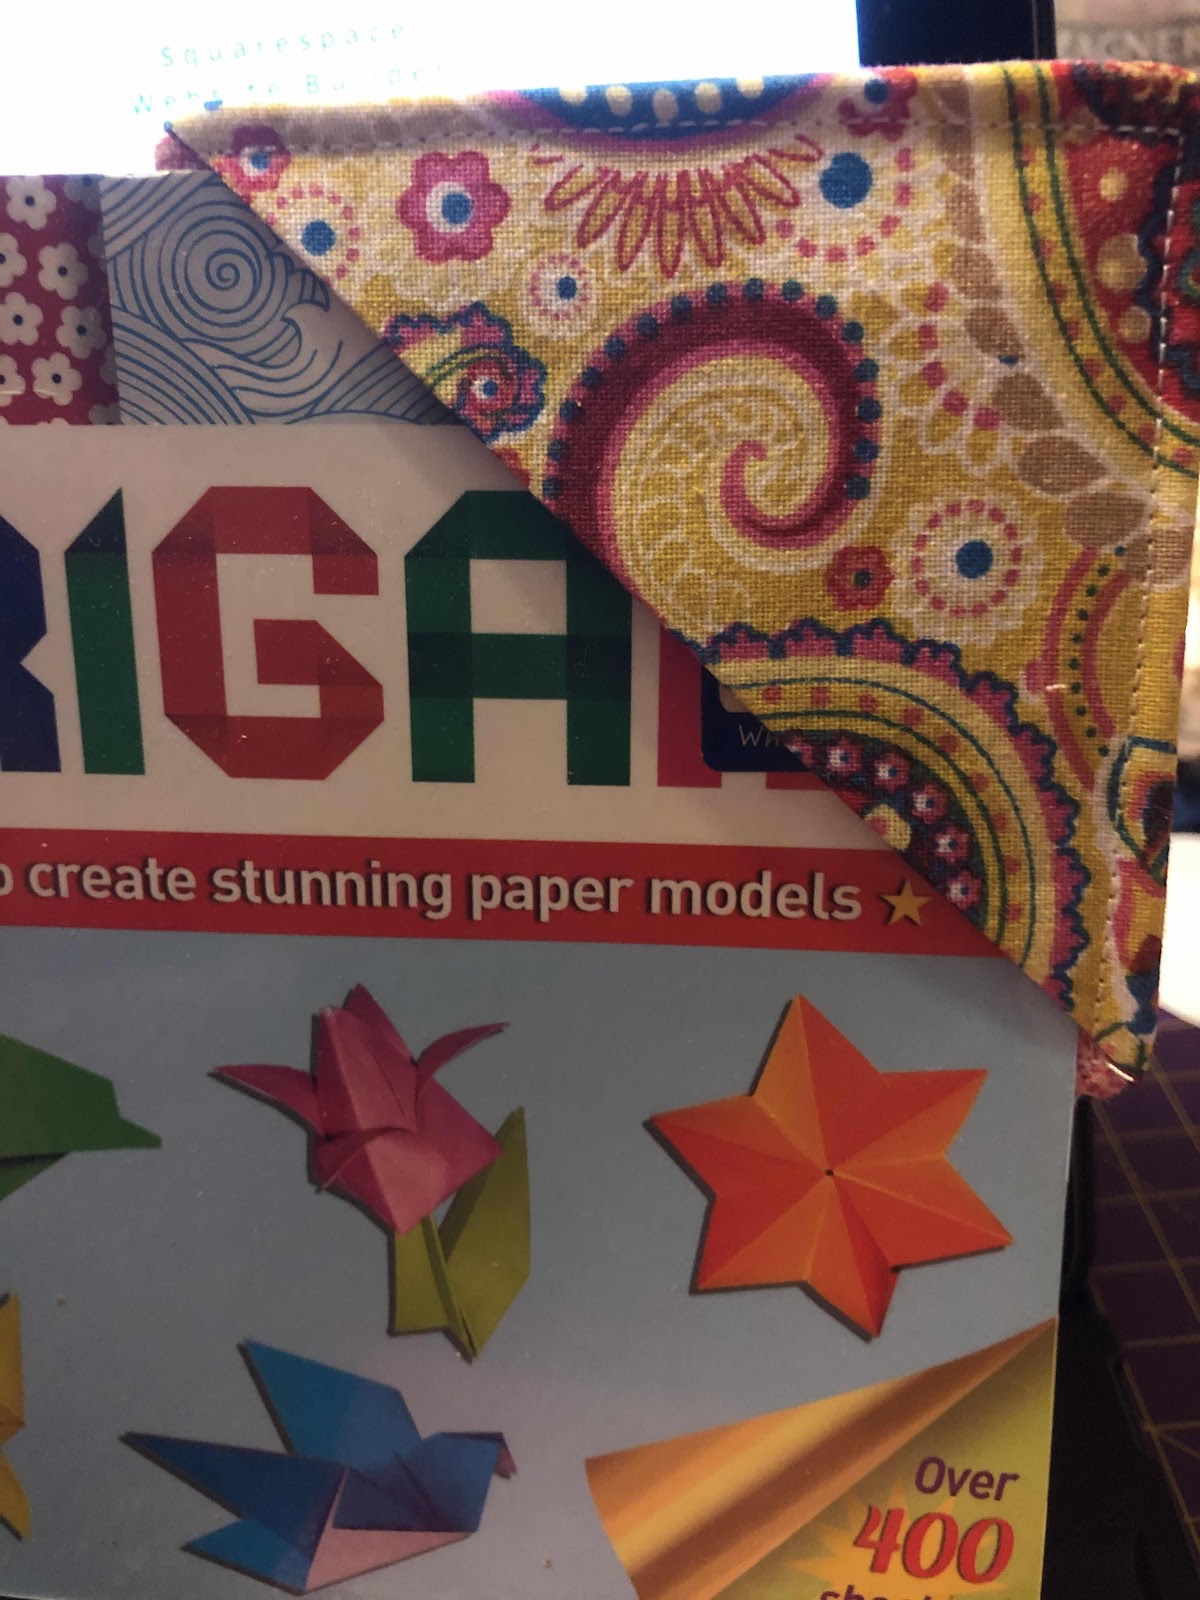

So now I have 3 bookmarks for around the house. Pretty ones at that. 
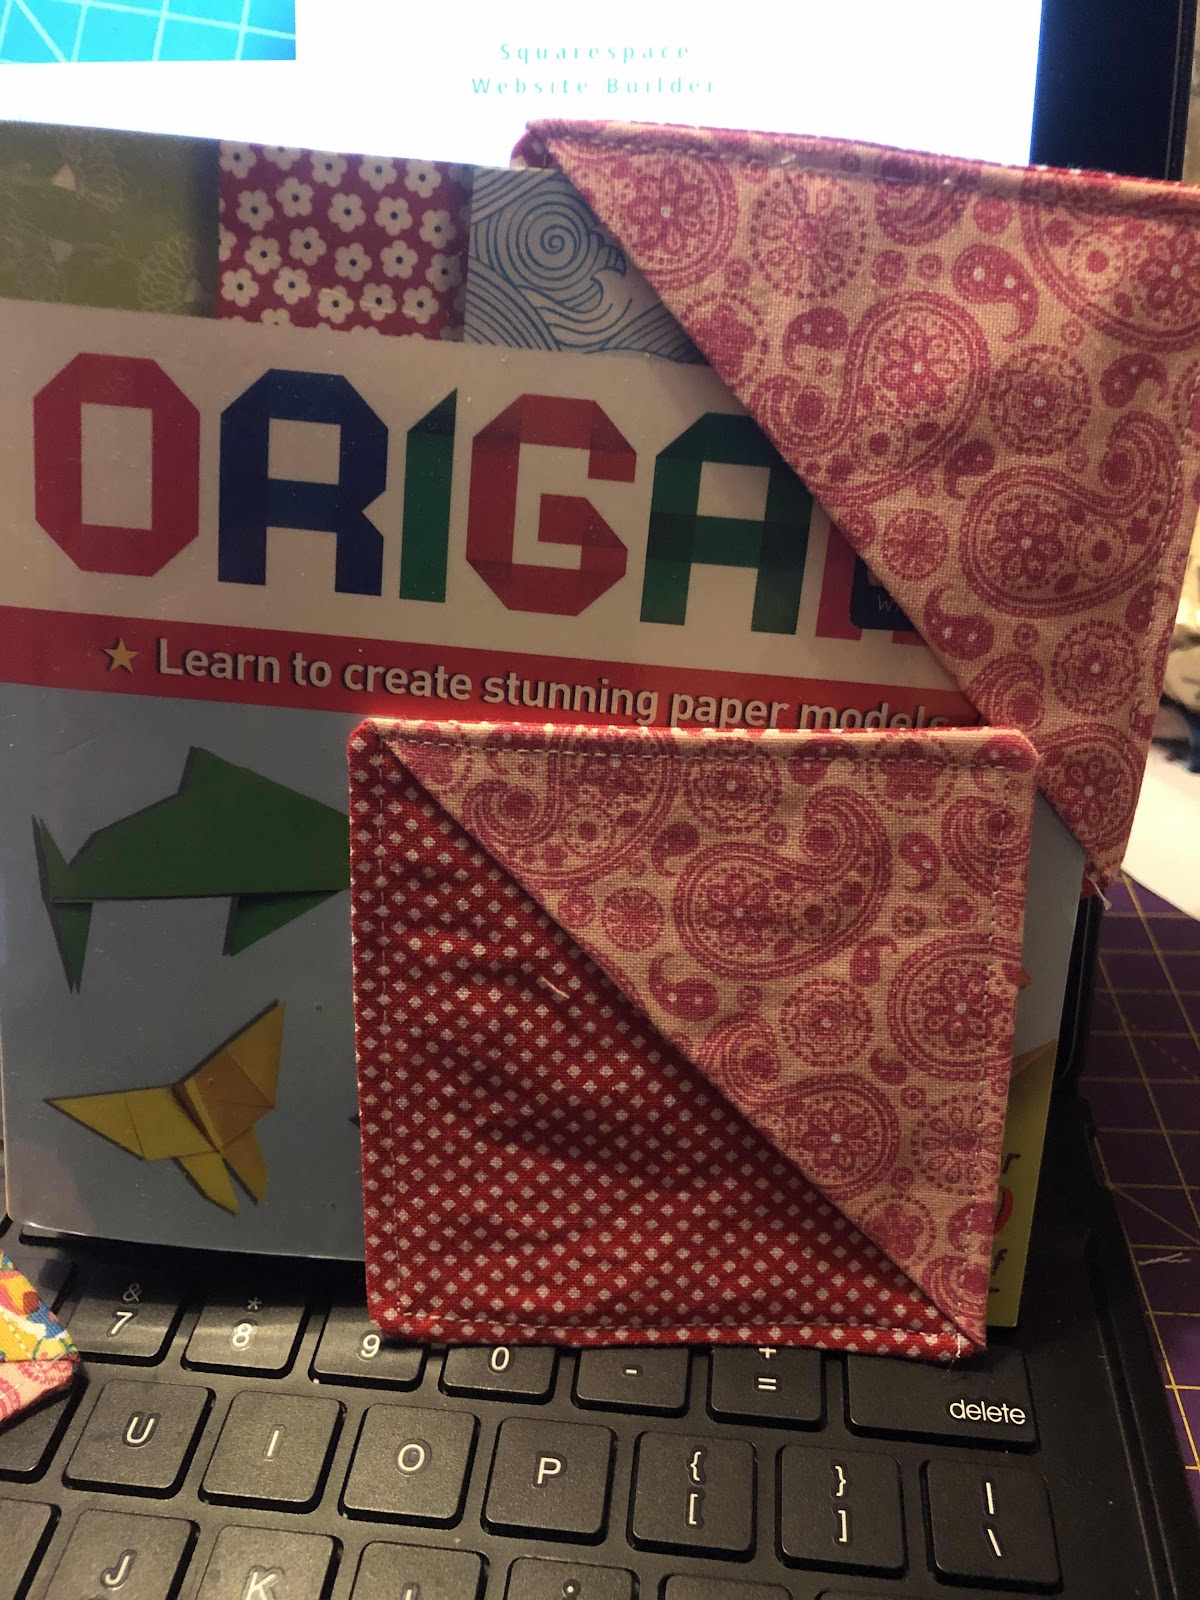
 Tutorial came from Pinterest and on craftystaci.com. Got to admit I’m having a blast with quick and easy projects at the moment. Need to find more projects to keep me amused in my time I get to myself in the evenings. 


What do you do? Fold the corners or use a bookmark of some description? 

Wednesday, 20 May 2020

Scrappy book cover


At the start of the month I celebrated my birthday in lockdown. Claire from Beautiful things HQ ( youtube and Facebook is where you can find her groups and pages) held a zoom class for a book cover using scraps. I believe it is now or soon will be a online class on her website to. So I booked myself into the class and joined in and made a book cover. No photos here sorry. Today I got sent to get some time to myself to sew or something. First thing that came to mind was all the wonderful scrap pieces from making the wonderful peg bag and making a new notebook cover. I love it. 
It started well and looked pretty even before the sewing started. Claire’s style of teaching really left me with no doubts on my second go at this and whizzed through it no problem. Only thing I had to watch out for was by making sure my bobbin was full when I started. 
The other side is just as pretty and very individual. I have a thing about notebooks and love buying new ones. 
The inside flaps that hold the cover on are bright and cheerful. Im having so much fun with these books and scraps. I’m already on another project to use some more of the scraps up. 
My other thought was how many projects can I get out of this fat quarter pack I’ve been using. Will have to keep all the bits together and see I think. 

Thursday, 7 September 2017

Fat Quarter sunshine AKA adventures in sewing Part 1

OK, maybe not sunshine as such but that's what these Dresden blades pieced together remind me of. Almost like a child has drawn a sun. I remembered earlier I had bought a Dresden blade quilt ruler a while ago. I knew I wanted to sew today but didn't want anything to difficult or big to do, but something new to.  Like any sewer I have a very interesting little collection of Fat Quarters. I am still hooked on these from my quilting days almost 16 years ago. Such prettiness to admire and dream of using one day in the perfect project. Does that perfect project ever arrive I wonder?


I chose just 2 Fat Quarters for the front of the cushion and cut out 10 blades of red and 10 of blue. It's hard to see in this light but they have little bits of glitter in this fabric. Glitter that doesn't spill everywhere like the half sequins I am still finding everywhere!


Very simply I sewed one of each colour together in pairs, with a 1/4 inch seam allowance then pressed the seams towards the blue side as it was darker..

Then sewed each pair to another pair, pressing in the same way. I carried on until I had all 2o forming a ring with a hole in the middle.


To cover the hole I cut out 2 pieces of material bigger that the hole in circles and sewed them right sides together.


Carefully making sure I had only one side of the circle I cut a slit.Turned the circle right sides out and pressed.


And I even impressed myself it still looks like a circle. Simply needed to pin the circle over the hole and chose a buttonhole type stitch on my machine and machine appliqued carefully around the edge of the circle attaching the circle over the hole. It took a bit of concentration and slow going in places but it did go on in the end.  Thankfully without the need of a stitch ripper.


As you can see I used red thread to highlight it a bit.


Not having another 2 of these FQ I struggled to find a contrasting 2 that I liked, so after auditioning a lot of fabric I decided to back the cushion in black needle cord fabric, logic was it probably is going to get a fair bit of use with children sitting on it on the floor or even in the garden so may as well have one hard wearing side.


How it has been left is smoothed out and pinned right sides together ready for my next hour I can sneak in to finish it, and while I consider the best way to finish this. Will update you in next day or two on how I finish the cushion off.


So until I can sneak off and sew again
Take care
Jules x