Thursday, 21 May 2020

Fabric bookmark corners

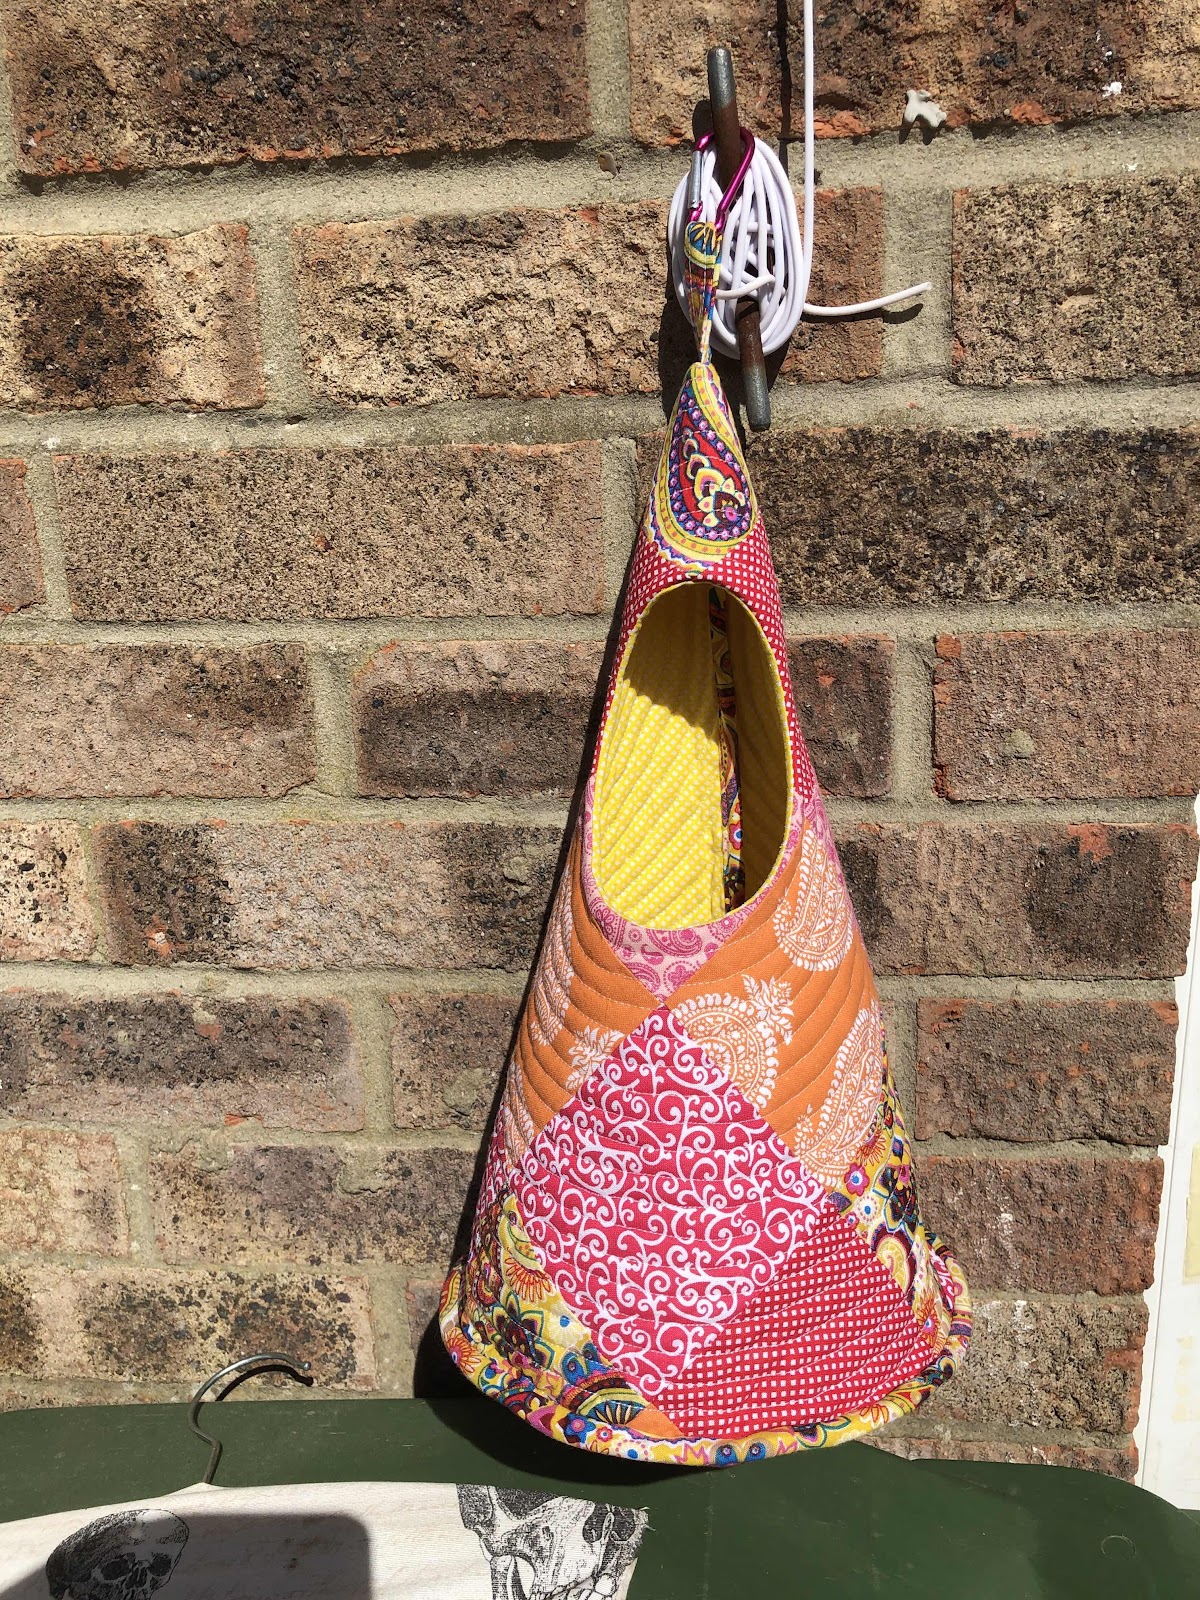
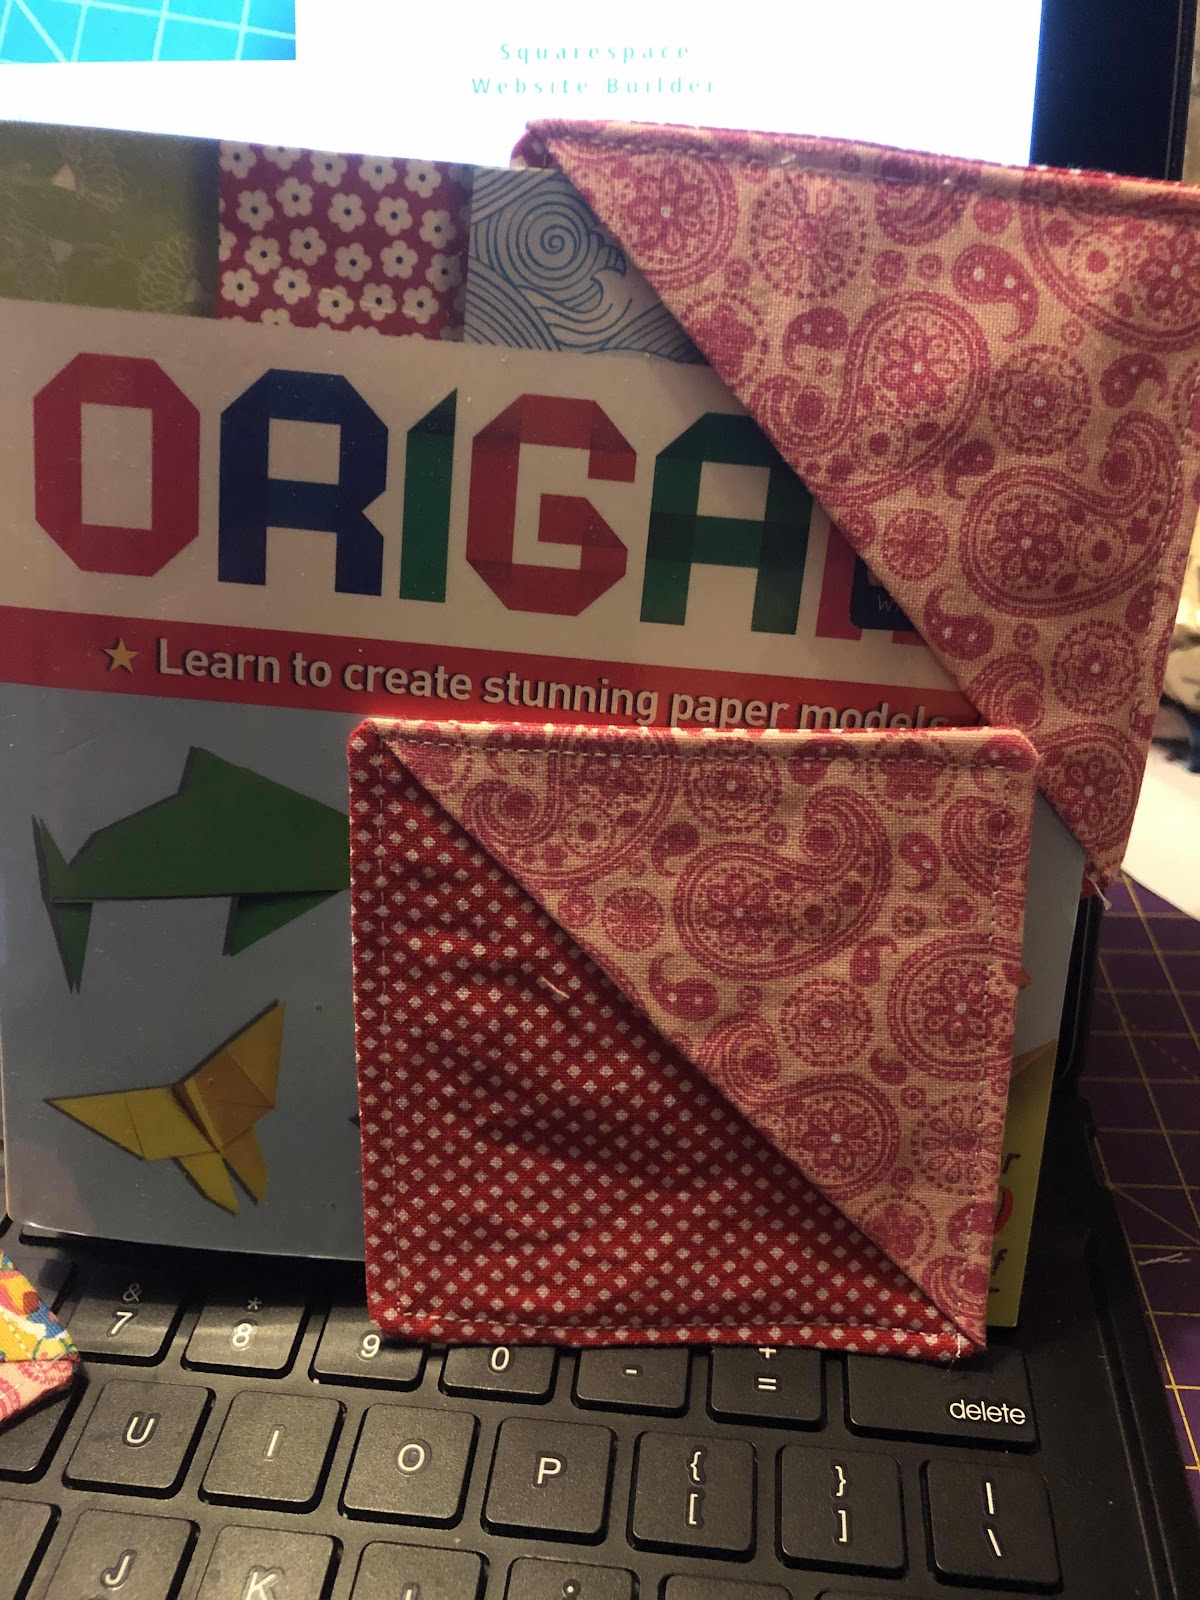
Still using scraps and these took me down memory lane. My mum once showed me how to fold paper to make a corner bookmark. I really do not like books that have had their corners turned down or creased so bookmarks are needed. Saying that I use a variety of things for bookmarks. Usually the nearest flat thin object. Receipts, membership cards, paper money, coasters, pierces of yarn....... I’m sure you get the idea. So I used 3 4 inch squares to make some corner bookmarks from fabric. 
Square one was interfaced on one half by a half triangle shape and folded over and pressed into a triangle itself. This was placed on a corner of an interfaced square facing right side up and covered by a third square right side down. 

Sew all round leaving a turning gap, clip corners and turn through and press after poking corners out. Press again and top stitch close to edge closing the open edge 


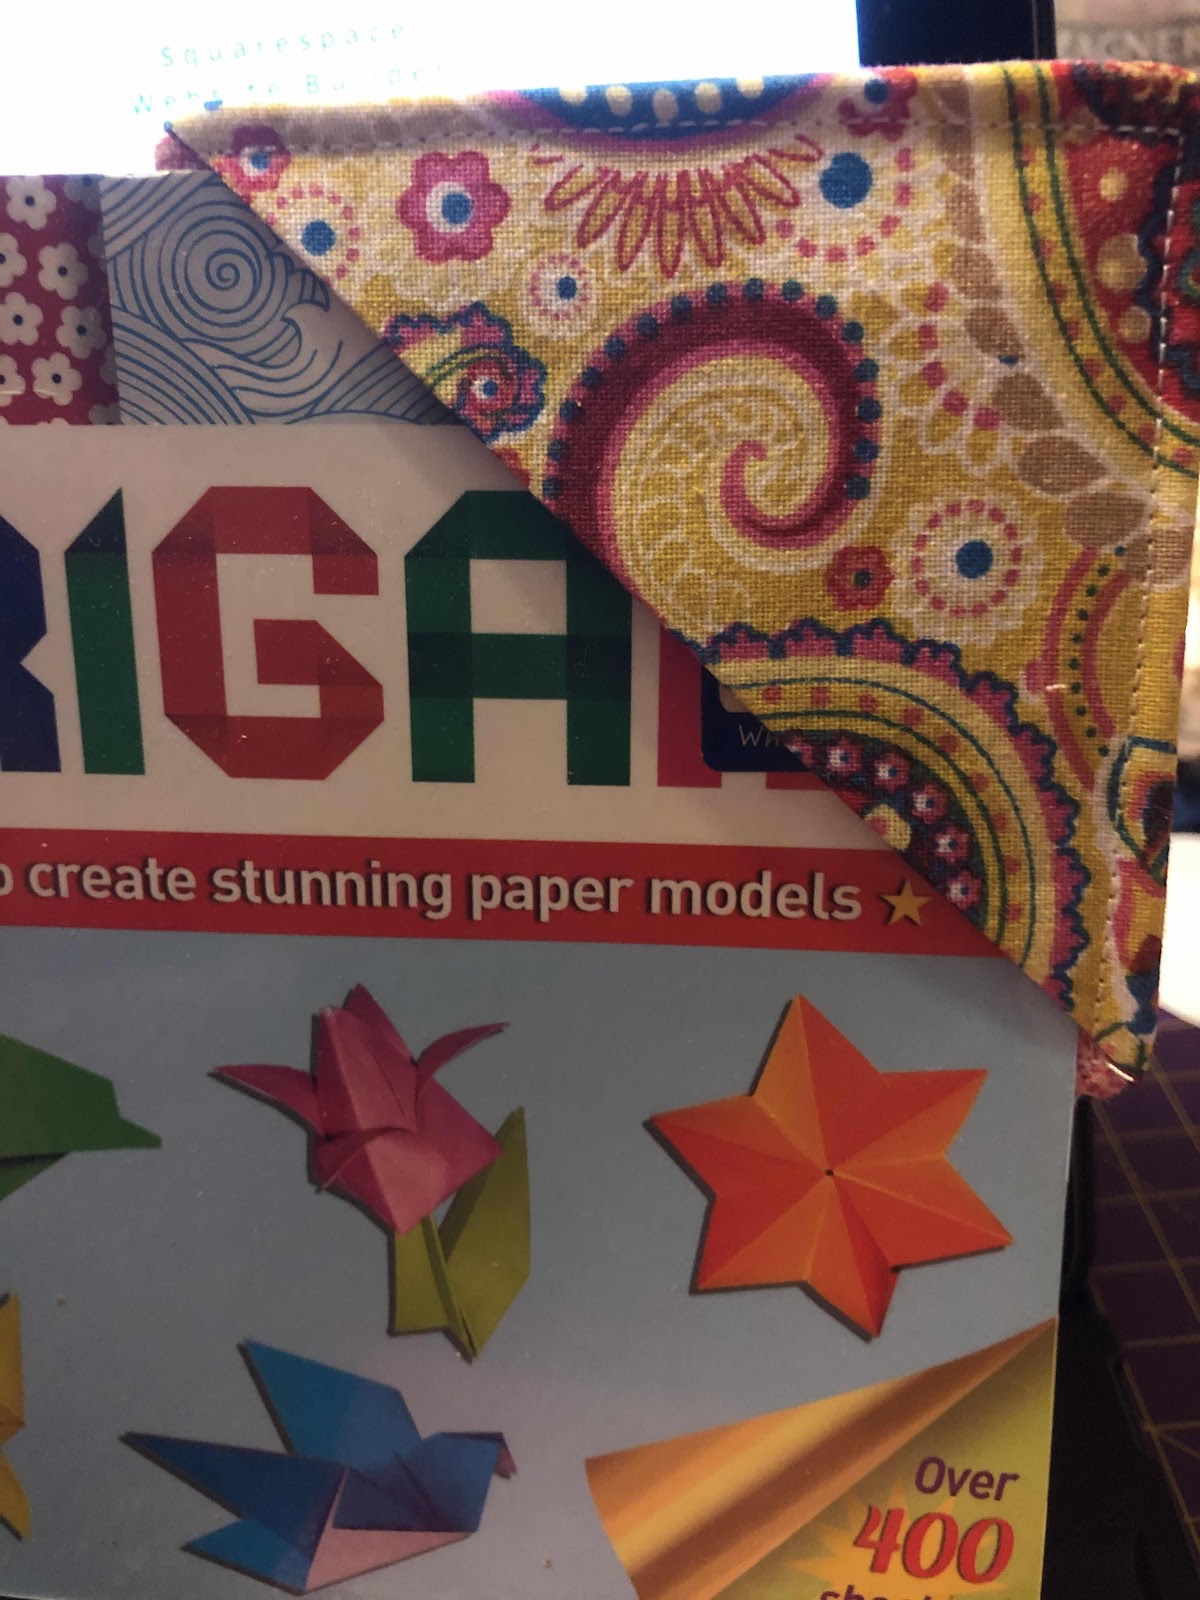
So now I have 3 bookmarks for around the house. Pretty ones at that. 

 Tutorial came from Pinterest and on craftystaci.com. Got to admit I’m having a blast with quick and easy projects at the moment. Need to find more projects to keep me amused in my time I get to myself in the evenings. 


What do you do? Fold the corners or use a bookmark of some description? 

Wednesday, 20 May 2020

Scrappy book cover


At the start of the month I celebrated my birthday in lockdown. Claire from Beautiful things HQ ( youtube and Facebook is where you can find her groups and pages) held a zoom class for a book cover using scraps. I believe it is now or soon will be a online class on her website to. So I booked myself into the class and joined in and made a book cover. No photos here sorry. Today I got sent to get some time to myself to sew or something. First thing that came to mind was all the wonderful scrap pieces from making the wonderful peg bag and making a new notebook cover. I love it. 
It started well and looked pretty even before the sewing started. Claire’s style of teaching really left me with no doubts on my second go at this and whizzed through it no problem. Only thing I had to watch out for was by making sure my bobbin was full when I started. 
The other side is just as pretty and very individual. I have a thing about notebooks and love buying new ones. 
The inside flaps that hold the cover on are bright and cheerful. Im having so much fun with these books and scraps. I’m already on another project to use some more of the scraps up. 
My other thought was how many projects can I get out of this fat quarter pack I’ve been using. Will have to keep all the bits together and see I think. 

Peg teepee

I’ve not quilted in a while and I really didn’t need a new peg bag but when I saw someone else’s version. Of this I had to have one. It’s called a Quip by little patch pockets. I had just the bundle of fat quarters to use for it to. It can use squares, scraps or even just one fabric. 

I have to admit I really got confused at one stage and had to read the instructions 20 times as couldn’t figure out at which part to cut the fabric using the pattern/template. Anyone else do this? Read something wrong and then can’t read it correctly? Which was exactly what I did. Not the patterns fault it was mine! Got there in the end though. Took me a couple if evenings to make. Then, a 2 day gap. The last stage said to hand stitch the binding in place so I put it to one side as I hate hand sewing. 

Finally got around to the hand stitching and didn’t take me long at all in the end. I think it looks amazing. It’s not the sort of thing you make more than one of for yourself really which made it an expensive pattern for a one male use. However, now I’ve made one I know what to do and I might make a few more for friends etc and experiment with the look and quilting of it if I do. 

Bias binding and myself do not have a good history but this one distant fight me at all.  Maybe because I made it myself? Who knows. I’m counting if as a pleasant win and know I’ll be smiling every time I use this peg teepee as my daughter named it when I shared a photo when I started sewing this. 

Rainbow craft

Lockdown has been going ok here. Granddaughters have been here for 3 weeks and are keeping me busy and amused and hopefully I’m doing the same for them too. Recently I decided I needed a better rainbow in our window to show our support for the NHS and key workers etc. I had the girls help me find a stick on a dog walk. Also, they helped make pom-poms. They were a little confused at first wondering why we needed a stick but when the word craft was used they were all in with my plan. 


My Glue gun made an appearance  but not until we had unwound, measured, cut and attached rainbow colours of yarn to our stick by tying them on with a loop method. We then took our pile of pom-poms and glued them onto the stick and each other to give a cloud appearance. 


I was pretty impressed at how it all came out. All with yarn I had sitting around and a stick. The girls helped even the ends off so I’m leaving it slightly ragged. The hanger is just one strand of each yarn braided and tied onto the stick. It all hangs proudly in my front window now. 

The girls took the off cuts and continued cutting them to make rainbow ‘cakes and cookies’ imagination is a wonderful thing. Amazing how a few small bits can keep them amused for a long time :-) 

I’m so glad this pair have the craft bug like me. It’s fun to have partners in craft and fun. 

This wasn’t the stick we used obviously. However, it was the one the found and carried home for me to practice using my new woodworking tools on. How lucky am I?