Showing posts with label glue gun. Show all posts

Tuesday, 13 October 2020

Fabric flowers


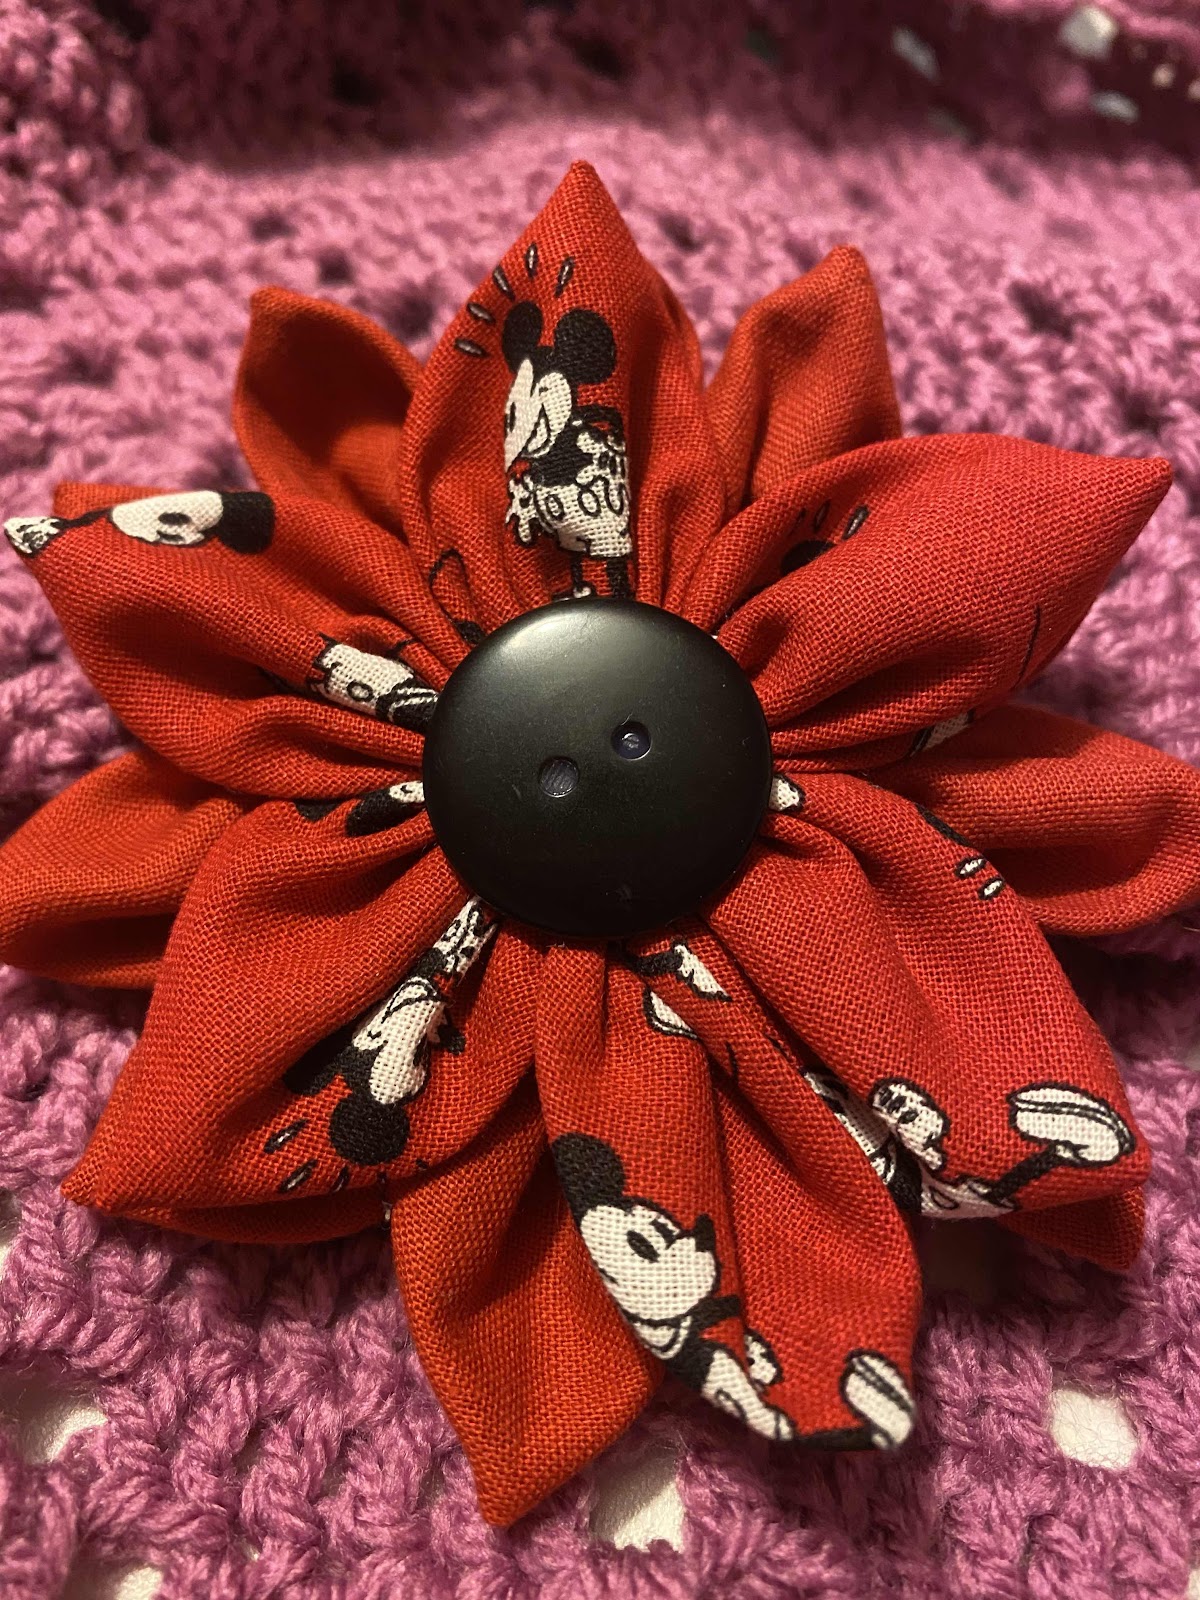
On Sunday I took a zoom class with Clare Mackaness from Beautiful Things. You can find her on youtube and Facebook or her website. I love how Clare makes everything achievable and fun. She teaches crafts, sewing and crochet to name a few things I’ve learned from her. Definitely recommend her if you are looking for something to learn online. 

The flower was made with circles of fabric, some machine sewing and some hand sewing. It could all be done by hand if you don’t have a sewing machine though. 

A button is used to finish it off and hot glue or fabric glue also comes into play. I yet again survived using my glue gun. Some days I just impress myself 😁 

I used a hair alligator clip to finish it off and for it to be able to wear it. In fact I put it in my hair and forgot it was there until I got ready for bed that night. 

A very fun class that leaves me ready to grab some of my scrap fabrics to make more. It’s and excellent project to use up scraps and odd pretty buttons we keep hold of. Great coordination items to go with home made items. Or even up cycling some well worn favourite clothes. 

After my last craft failure it was great to do something that worked well and came out well. Thanks Clare 

Wednesday, 22 May 2019

Rolled paper flowers

It's been a strange day, started normally then I got hit by a bug.  Feeling not well but still feeling the need to do things I ended up pottering around slowly and doing a few crafty bits. 

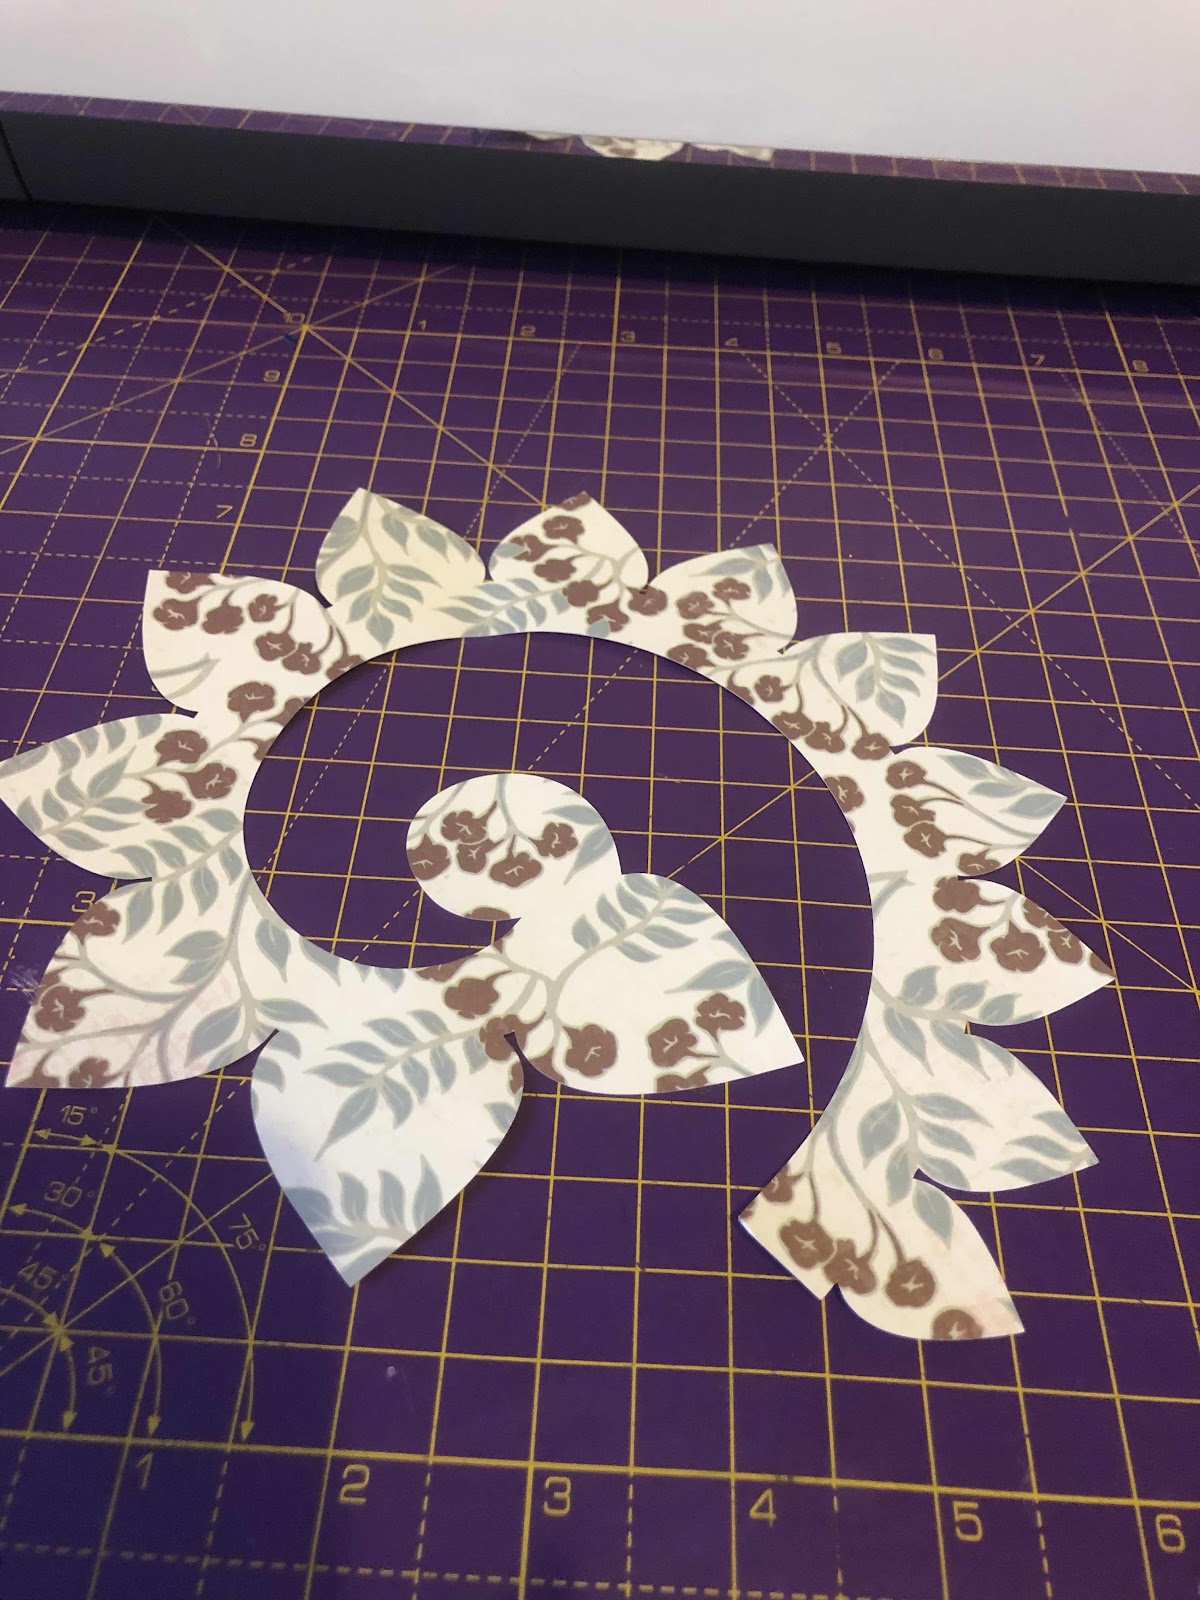
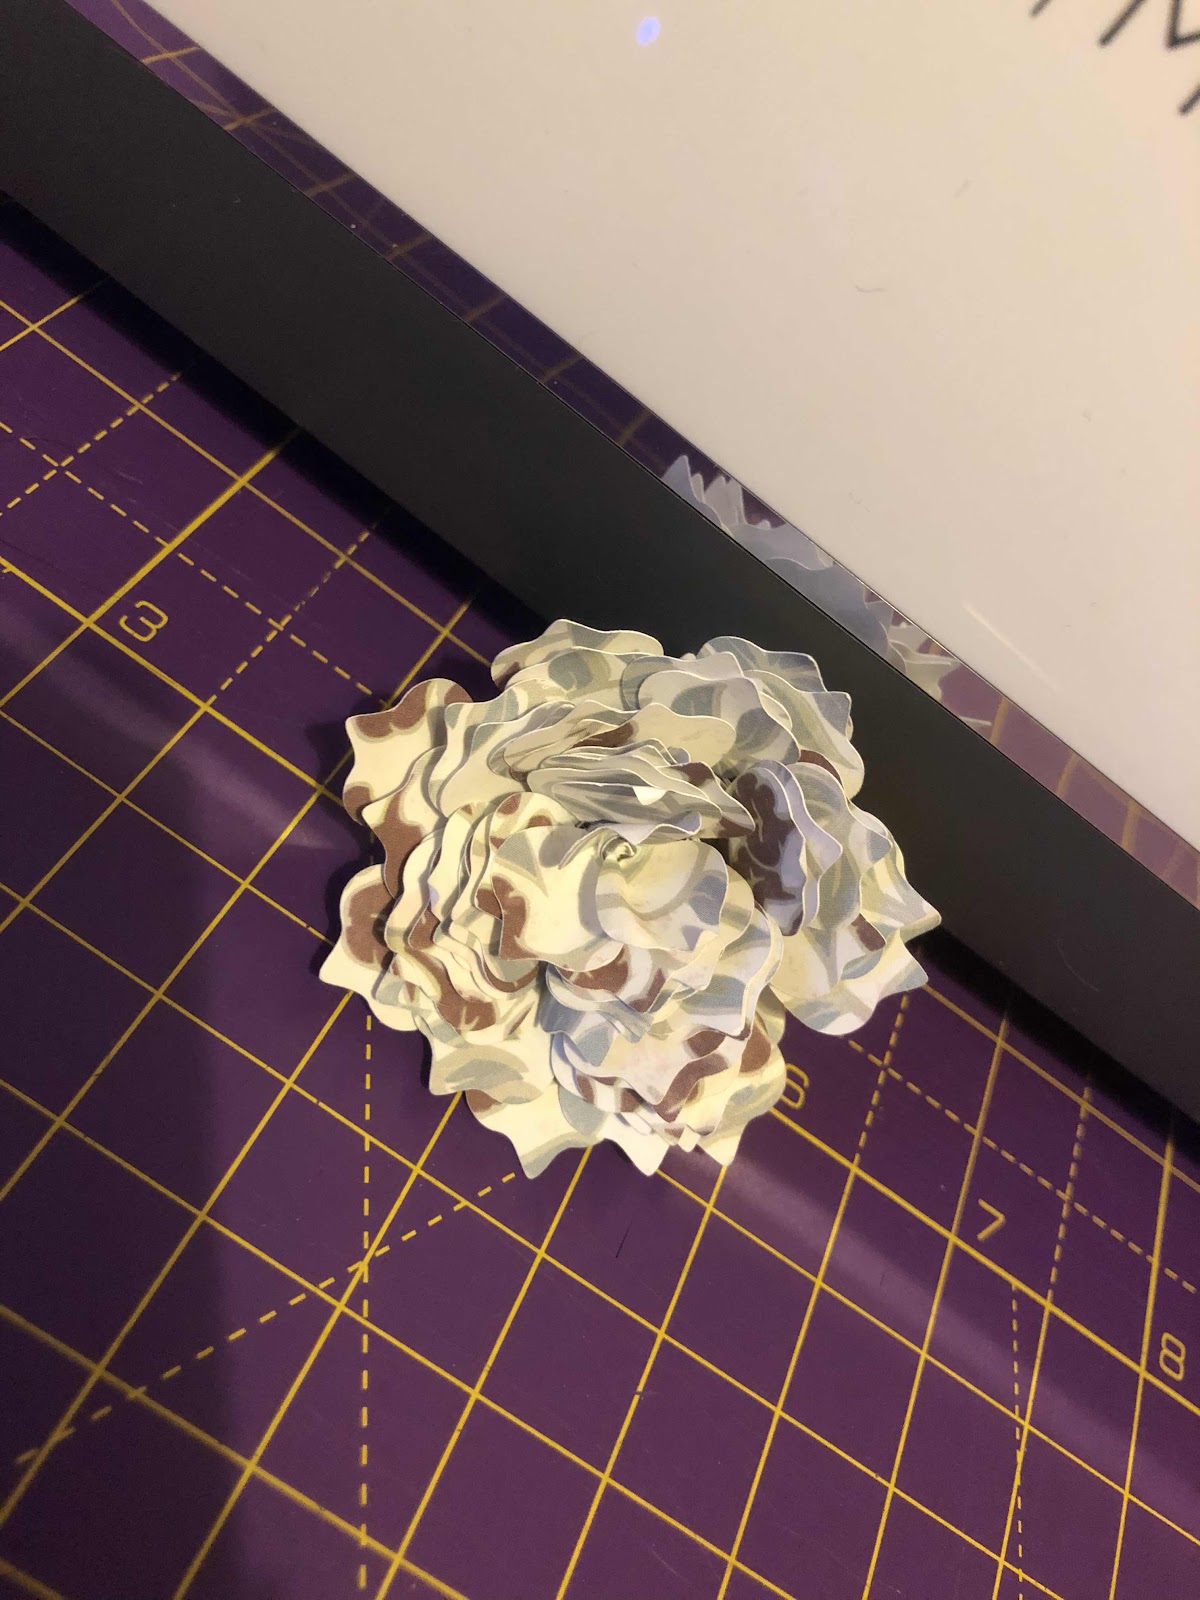
Something that has had me interested for a while is the rolled paper flowers I have seen so many people do.  Basically, you cut out the template then roll with a quilling tool.  Then you arrange it until it looks pleasing and then glue the base of the flower to the tab on the end of the template. Let me tell you this is an art which is fiddly for my fingers and although I have to admit they don't look as bad as I thought they might do I doubt I will throw myself into making a whole bouquet or a shadow frame full.

Cut them both out at 8 inches wide and being the petals were different sizes it made a big difference in the finished size.

Didn't get this glued correctly so it is a bit lopsided.  Still pretty though. I guess it's supposed to be rose like maybe?
These almost lost a few petals but I managed to keep them all together in the end. This one was my favourite one.

As well as doing these flowers. I have glass etched a coaster. Which reminds me, the turtle from my last post was white because I hadn't cleaned the cream off fully and now looks a lot more like etched glass not white.  I also designed and applied htv ( heat transfer vinyl) to socks today. Also, put some rainbow HTV split letter names onto caps for my granddaughters.  Even though I haven't been able to go out as planned I have been productive at least.  

Early night needed but first Pinterest calls as have an idea I need to look up. Hopefully, it won't swallow up a large cun of time again or I might be found asleep at my desk! 

Sunday, 19 June 2016

fabric clip flower storage tutorial


I love purple and I love flowers, so this make made me really smile. Only took me about half an hour, and that was including ripping a bookcase apart looking for a glue gun.  Found it though luckily.


On the corner of my small sewing desk is a big coffee jar that I use as a thread/snips/fabric scraps bin. I actually find it a really satisfying, useful and pretty addition to my work area. 
Trouble is there isn't much room on the desk after the sewing machine and overlocker/serger are put on there. Apart from a pin cushion I also have a red ramekin that is usually precariously perched on some odd corner waiting to be knocked over when not in use. SoI thought about it a while and remembered a pin for felt flowers vaguely. And someone using it to hold wonder clips/clover clips/ whatever these clips are called.


A bit of quick thinking I grabbed some felt sheets, thatI have a small supply of, and cut them along the longest size into 2.5 inch wide strips.  I did one of the paler felt and 3  of the darker felt.


Folded the strips in half along the length and used my clips to hold these together as I sewed down the open long edge. I back stitched at the beginning and end of the stitching line and used the edge of the presser foot as my guide. Felt doesn't fray so had no need to finish or secure the edges.  I didn't even clip the threads in between the pieces of felt.  Just lifted the presser foot and placed the new piece of felt right in front of last one and carried on sewing  with a back stitch a few stitches into the new felt strip


Then I had great fun placing on my clips so I could see how wide each 'petal' should be giving enough room for a clip and a small bit of room either side.  Seemed a faster method than measuring and marking each bit. 


I cut in between the clip and removed them all. I cut down until just before the stitch line and made sure I didn't cut any further as didn't want to snip through the stitches


Then came the fun.  I started with warming my glue gun.  You could also sew the base bits together and use a different glue to later stick onto your chosen base.  I started with my lighter strip and placed a dab od glue on one end and then started to roll the strip up on its self.  I glued all along in small sections and rolled up all along the 4 sections until they formed one big base.

Looking good huh?


The light in my sewing area is not ideal, especially in a dark gloomy rainy evening, but I am pretty pleased with how this came out.


The colour here is more true than the one above.


I turned it upside down and applied hot glue over the base and in this case stuck it to the top of the coffee jar lid.  You could stick it on any suitable container or even make one for a wrist strap and sew it on maybe

I'm pretty happy how it turned out as it looks fun and pretty, but it is saving a space on the desk safely when I put things away. Plus, I can now use the ramekin for its intended purpose it was bought for, cooking.  Souffles anyone??